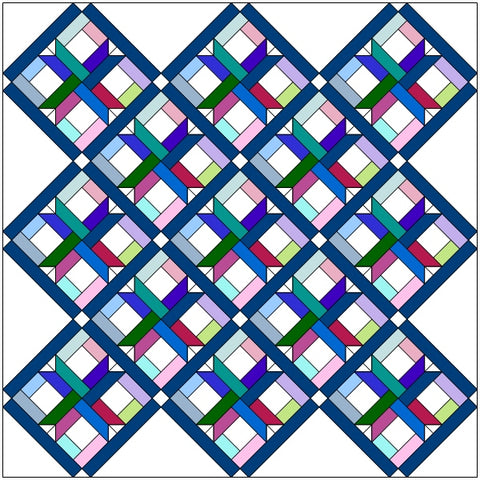
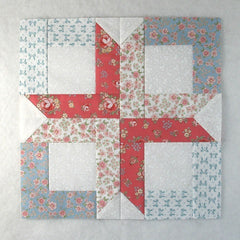
Let’s sew up this traditional Box Quilt block today. It is beginner-friendly and you could dig into your stash and/or scraps to make a beautiful quilt. This pattern is a little different than other Box Quilt blocks you can find online and is attributed to Nancy Page. Personally, I think the name “Boxed Star” would be a better description!
Using only squares and rectangles, the block goes together fast! Let’s check it out!
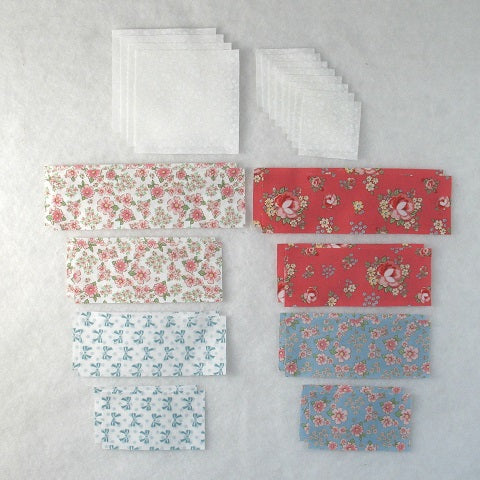
Fabric Requirements for a 12″ Finished Box Quilt Block:
- Light/White: 4 – 3.5″ squares, and 8 – 2″ squares
- Light Pink: 2 – 2″ x 5″ rectangles, and 2 – 2″ x 6.5″ rectangles
- Light Blue: 2 – 2″ x 3.5″ rectangles, and 2 – 2″ x 5″ rectangles
- Dark Pink: 2 – 2″ x 5″ rectangles, and 2 – 2″ x 6.5″ rectangles
- Dark Blue: 2 – 2″ x 3.5″ rectangles, and 2 – 2″ x 5″ rectangles
Update: I now have this tutorial available as a downloadable PDF in my Etsy shop. Click on this link to check it out: BOX QUILT
Sewing Directions:
Square Units:
Step 1:
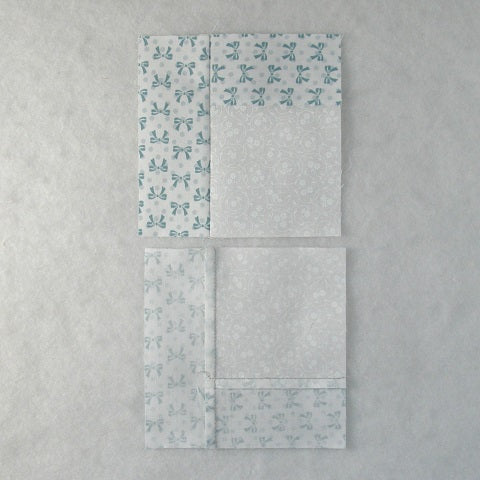
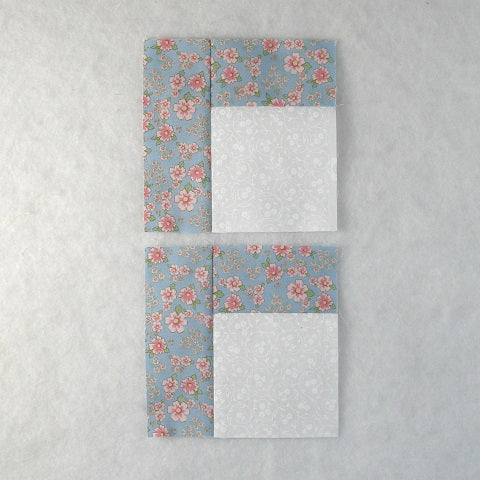
Sew a Light Blue 2″ x 3.5″ rectangle to one side of a White 3.5″ square and press the seam allowance toward the Light Blue rectangle as shown in the picture below.

Step 2:
Now you can sew a Light Blue 2″ x 5″ rectangle to the Step 1 unit and press the seam allowance toward the Light Blue rectangle as shown below. Repeat for a total of two units.
Step 3:
Repeat Steps 1 and 2 only using the Dark Blue rectangles in place of the Light Blue rectangles as shown below.
Step 4:
Here’s a picture of all four of the Square units.

Snowball Rectangle Units:
Step 5:
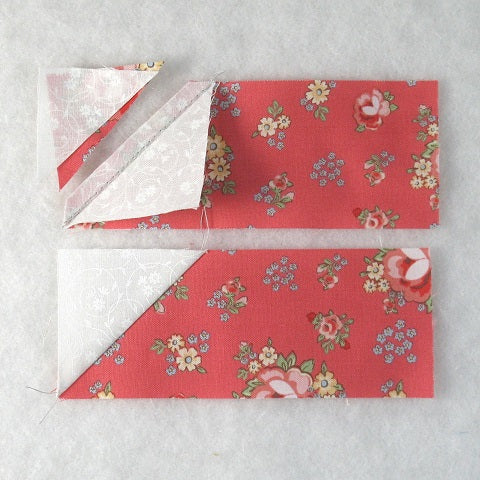
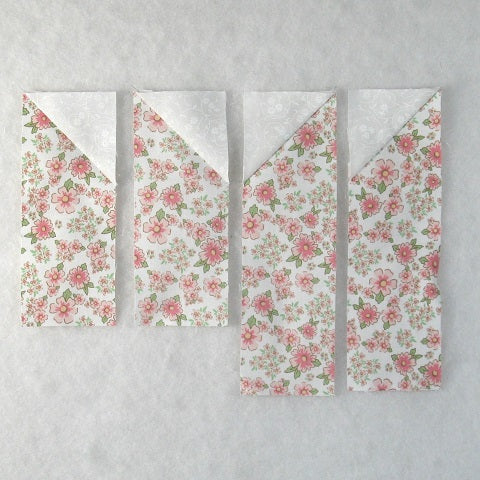
“Snowball” the upper left corner of a Dark Pink 5″ rectangle as shown in the pictures below.
Here are the first steps:
- Mark a diagonal line on the back of a White 2″ square.
- Sew the White square to the Dark Pink rectangle along the marked line. Note the orientation of the marked line.
- Match up the corners of the White square and press.

Step 6:
Here are the last steps:
- Trim away the excess seam allowance.
- Refold to complete the unit.
- Repeat Steps 5 and 6 for a total of two units.
Step 7:
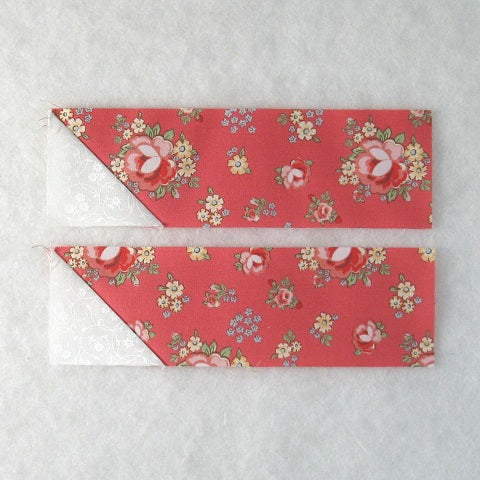
Repeat Steps 5 through 7 only using the Dark Pink 2″ x 6.5″ rectangles. Also note that the direction of the marked line has changed!
Step 8:
Here’s a picture of all four of the Snowball Rectangle units.
Step 9:
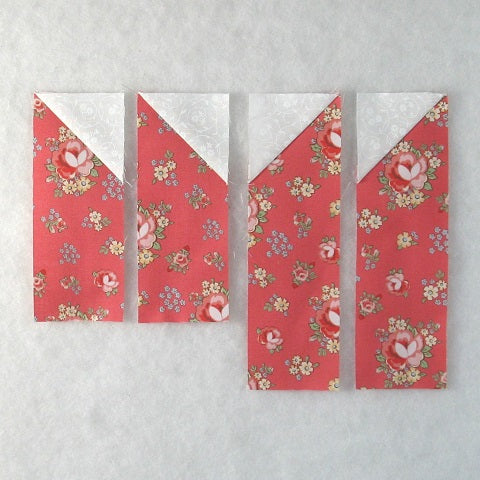
Repeat Steps 5 through 8 only substitute the Light Pink rectangles for the Dark Pink ones.
Corner Units:
Step 10:
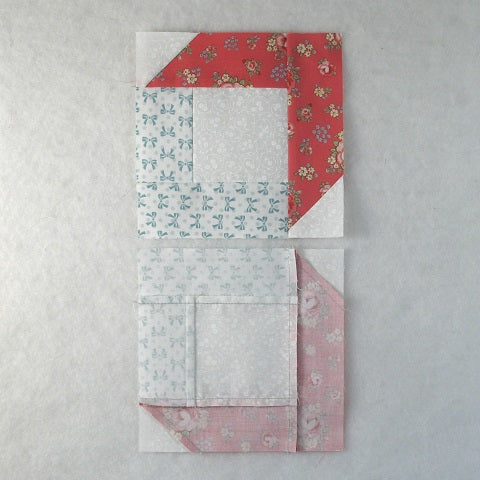
Sew a Step 6 Snowball Rectangle unit to a Step 2 Square unit as shown in the picture below. Press the seam allowance toward the Step 6 unit.

Step 11:
Sew a Step 7 Snowball Rectangle unit to the Step 10 unit you just made and press the seam allowance toward the Snowball Rectangle unit as shown below. Repeat for a total of two of these units.
Step 12:
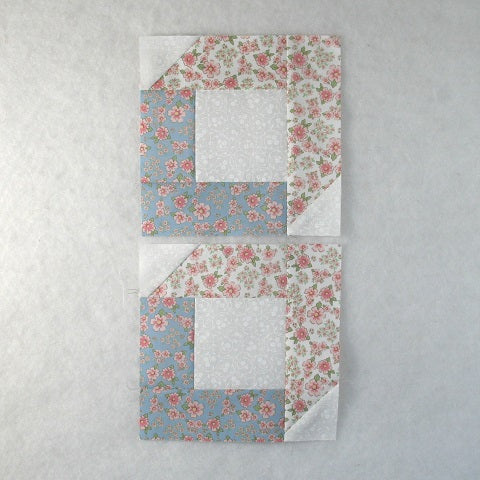
Repeat Steps 10 and 11 only using the Step 3 Dark Blue Square units and the Step 9 Light Pink Snowball Rectangle units as shown in the picture below.
Putting It All Together:
Step 13:
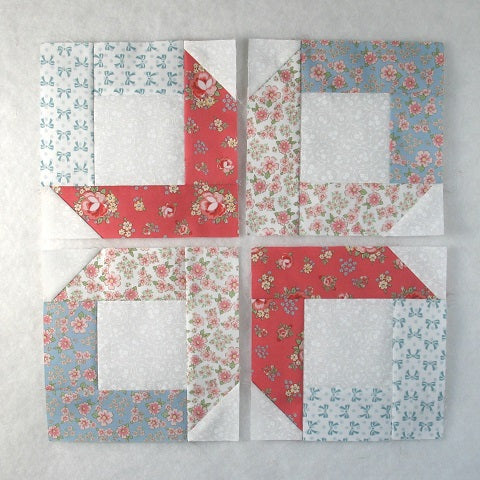
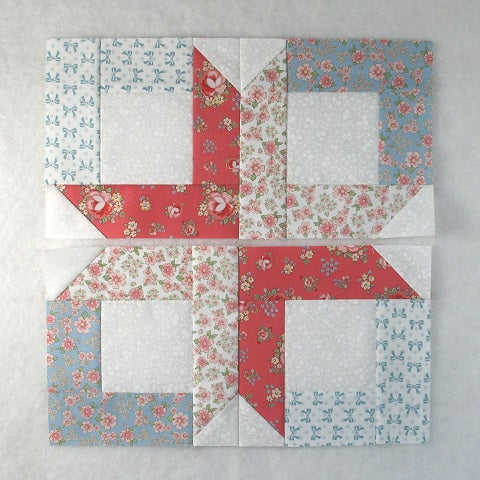
Lay out all the Corner units as shown in the picture below. From here the block goes together like a basic Four Patch block.
Step 14:
Sew the units into two rows. Matching up the diagonal seams is the hardest part of this block. Just take your time.
Step 15:
Press the seam allowances in opposite directions so that the seams will nest nicely in the next step.

Step 16:
Sew the two rows together to complete the block.

Step 17:
Press the seam allowance. You can see in the picture below that I used the tweak/twirl/furl method for pressing but you can press however you wish.

Layout Ideas:
Here’s the basic 4 x 4 layout:
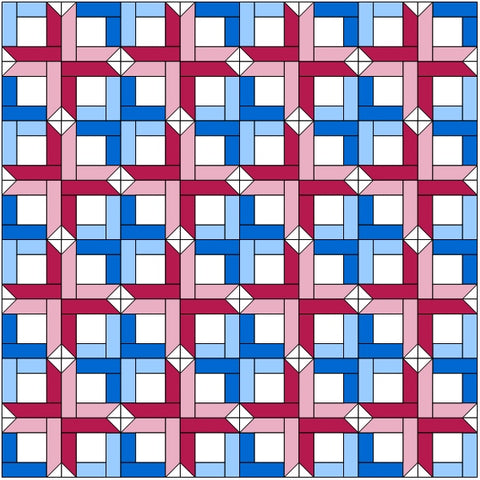
This example has sashing and cornerstones added.
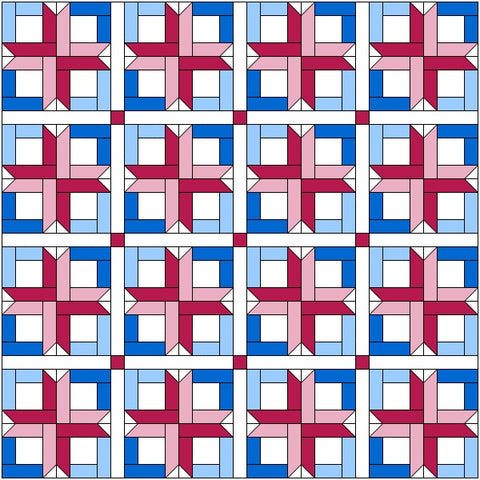
In this scrappy version, I used lights for all the Square units, and darks for the Snowball units, plus I used black for the background color.

Here’s what a two-color (with a background) would look like.
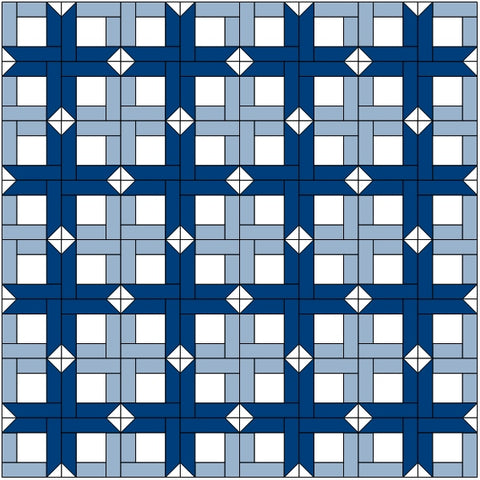
This one would be nice for a patriotic quilt!

Here’s a two-color alternating with a plain block of the lighter fabric.

And this is an example of an on-point layout with plain background setting triangles.
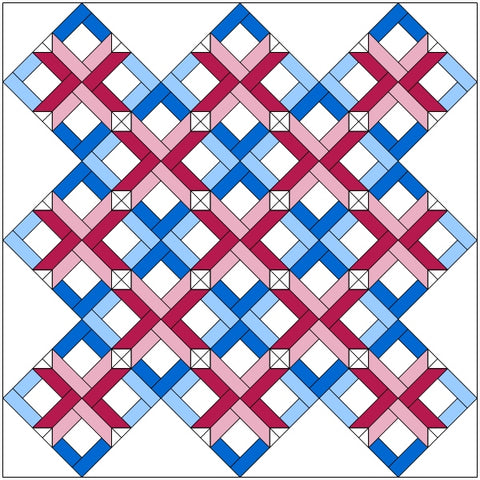
And this is a scrappy on-point layout with dark sashing and white cornerstones and setting triangles. This is my favorite!