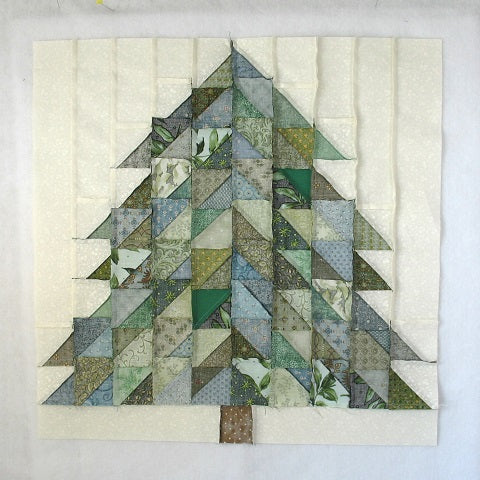
Here’s a tutorial for a scrappy pine tree quilt block that I’m calling Spruce. This is a large (20″ x 20″) block that will be great for a holiday wall hanging or pillow. With only Half Square Triangles, squares and strips the Spruce block is easy to construct! So dig into your scrap stash and let’s get sewing!
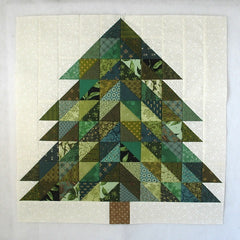
Update: I now have this tutorial available as a downloadable PDF in my Etsy shop. Click on this link to check it out: SPRUCE
Fabric Requirements for a 20″ Square Spruce Tree Quilt Block:
- Light/Cream: 2 – 2.5″ x 14.5″ rectangles, 2 – 2.5″ x 9.5″ rectangles, 2 – 2.5″ x 8.5″ rectangles, 2 – 2.5″ x 4.5″ rectangles, 9 – 3″ squares, and 2 – 2.5″ squares
- Assorted Green Prints: 53 – 3″ squares
- Brown (not pictured): 1 – 2.5″ square

Sewing Directions:
Half Square Triangles:
Step 1:
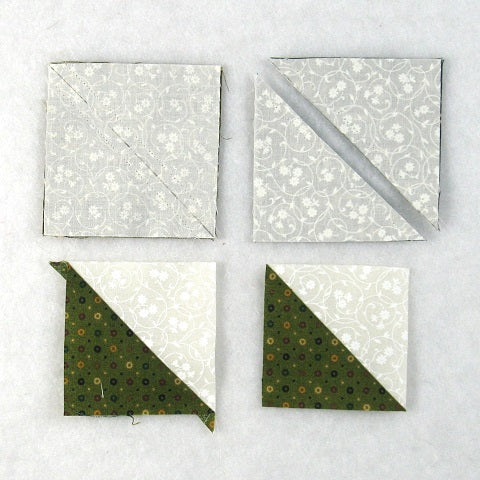
Pick out nine of the Assorted Green Print 3″ squares and all the Light/Cream 3″ squares and sew together 18 Half Square Triangle units.
- Mark a diagonal line from corner to corner on the back of the Light/Cream squares.
- Match up a Light/Cream and an Assorted Green Print 3″ square, right sides together, and sew 1/4″ (or a little less) on each side of the marked line.
- Cut along the diagonal line. You will have 2 half-square triangle patches.
- Open up the patch and press the seam allowance toward the Assorted Green Print fabric.
- Trim the unit to 2.5″ square.
For a detailed tutorial check out my blog post at https://quiltembroiderypdf.com/how-to-sew-a-basic-half-square-triangle-block.
Here’s a picture of the completed Cream/Green Half Square Triangle units:
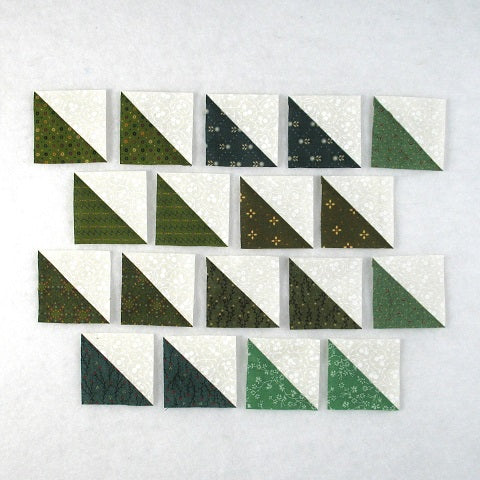
Step 2:
With the remaining 44 Assorted Green Print 3″ squares, make 44 Half Square Triangle units like the ones shown in the picture below. (For convenience sake, I’m only showing half of the units in this picture.)
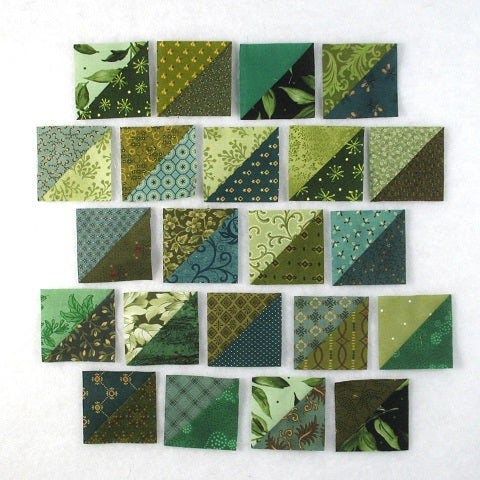
Trunk Unit:
Step 3:
Sew together the Light/Cream 2.5″ x 9.5″ rectangles and the Brown 2.5″ square as shown below.

Step 4:
Press the seam allowance toward the Brown fabric.

Putting It All Together:
Step 5:
Lay out the unused Light/Cream rectangles and squares, plus all the Half Square Triangle units as shown in the picture below.
Don’t drive yourself too crazy when laying out all the greens. Since you have two of every color Half Square Triangle, I would suggest splitting them into two piles – one for each half of the tree.
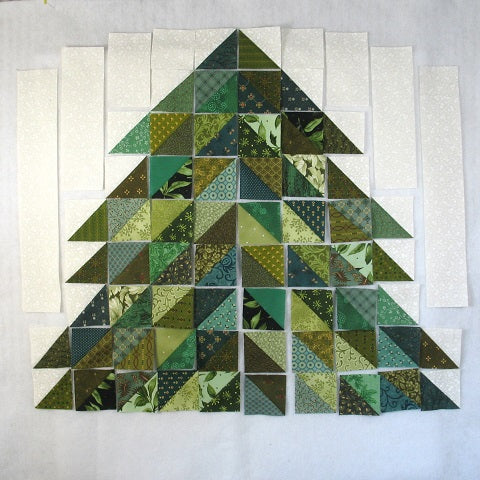
Step 6:
Sew all the units into columns as shown in the picture below.
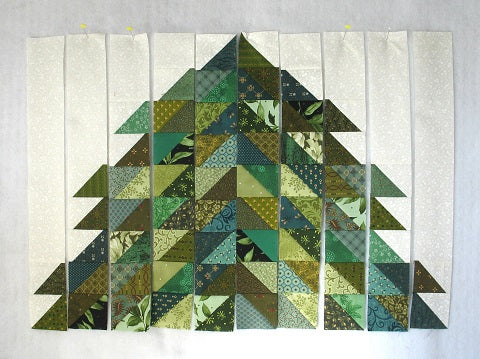
Step 7:
Press the seam allowances in opposite direction from column to column as you can see in the picture below.

Step 8:
Sew all those rows together! Almost finished.
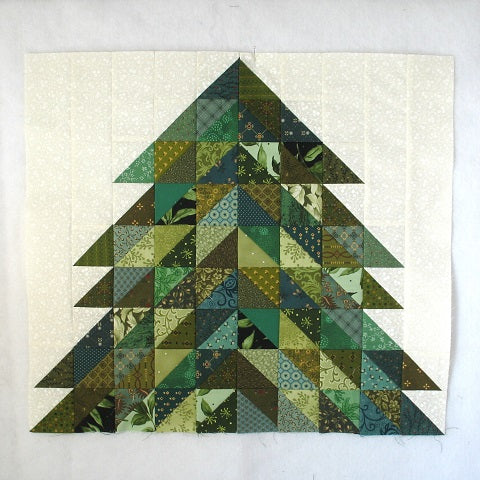
Step 9:
Press the seam allowances. I pressed mine all in one direction but you can do whichever direction you like.

Step 10:
Lay out the Trunk unit at the bottom of the tree as shown below.

Step 11:
Sew the units together.
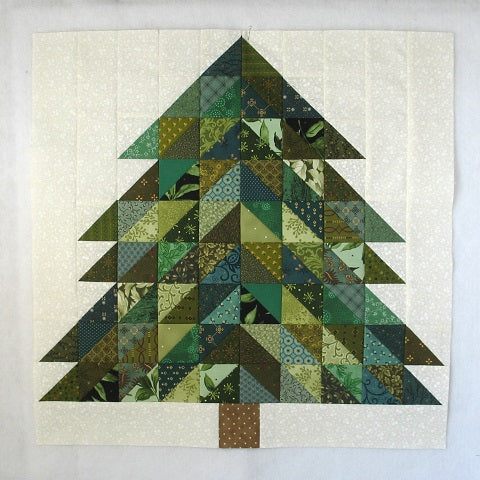
Step 12:
Press the seam allowance away from the tree unit as shown in the picture below. You’re done!