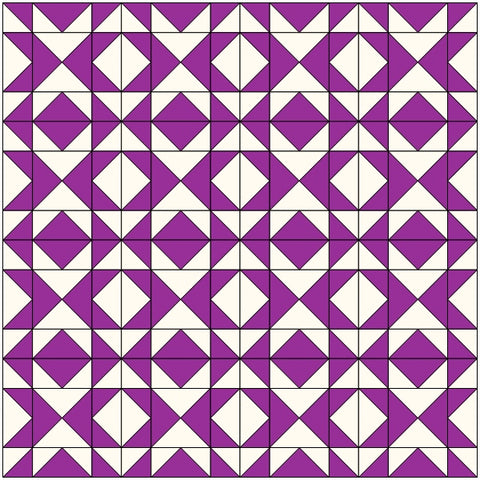
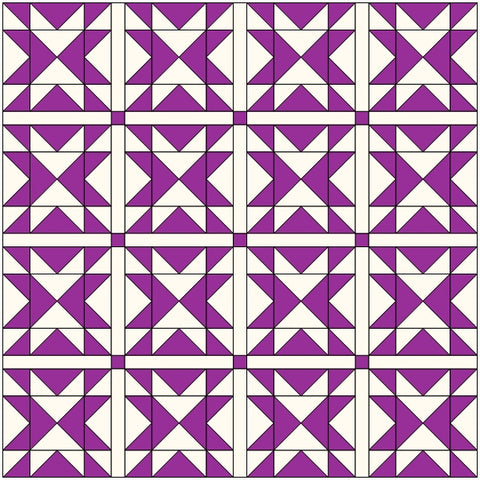
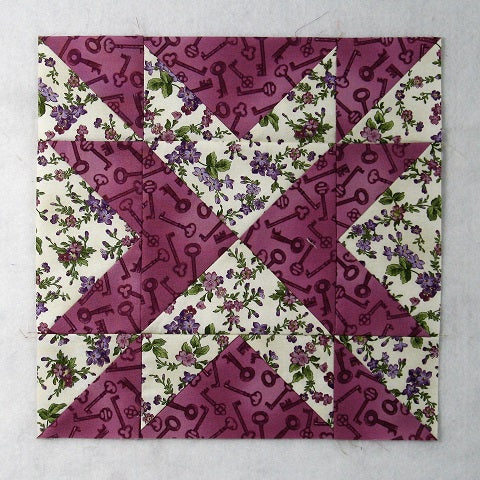
Create this traditional block using only two fabrics. The high contrast between light and dark colors makes for a stunning graphic design. The block also goes by the name Blazing Arrow Point. Let’s get sewing!
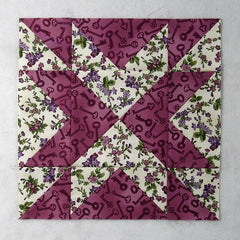
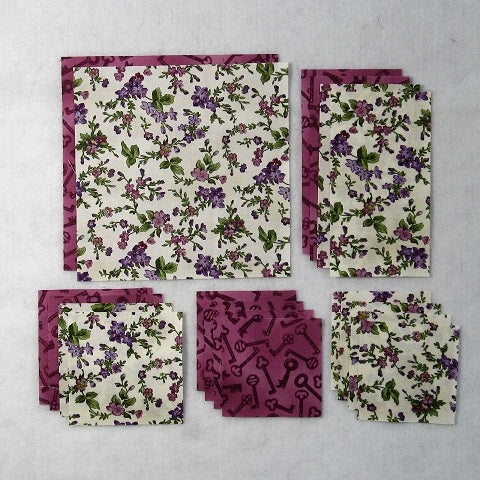
Fabric Requirements for a 12″ Finished Blazing Arrows Quilt Block:
- Light Print: 1 – 7.5″ square, 2 – 3.5″ x 6.5″ rectangles, 2 – 4″ squares, and 4 – 3.5″ squares
- Dark Purple: 1 – 7.5″ square, 2 – 3.5″ x 6.5″ rectangles, 2 – 4″ squares, and 4 – 3.5″ squares
Sewing Directions:
Hourglass Unit:
Step 1:
For the center of the block, you will need one Hourglass unit. Use the Light Print and Dark Purple 7.5″ squares to create the unit. You can find my tutorial for making a basic Hourglass block at https://quiltembroiderypdf.com/how-to-sew-a-basic-hourglass-or-quarter-square-triangle-block
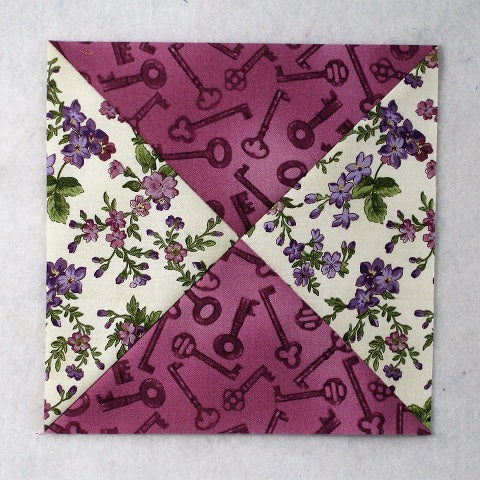
You will get two Hourglass units but you only need one per block.
Half Square Triangle Units:
Step 2:
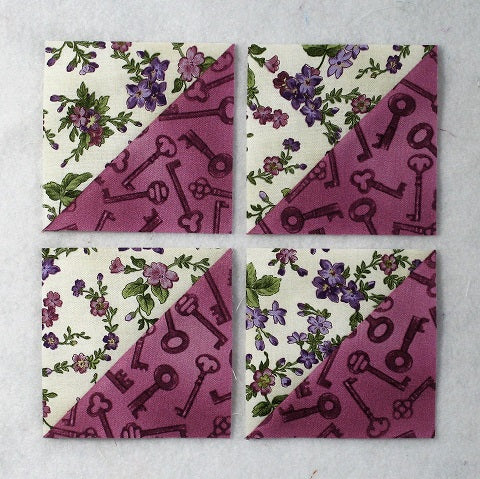
Using the two Light Print 4″ squares and the two Dark Purple 4″ squares, sew together four Half Square Triangle (HST) units like the ones shown below. The tutorial for making a basic Half Square Triangle can be found at https://quiltembroiderypdf.com/how-to-sew-a-basic-half-square-triangle-block
Flying Geese Units:
Step 3:
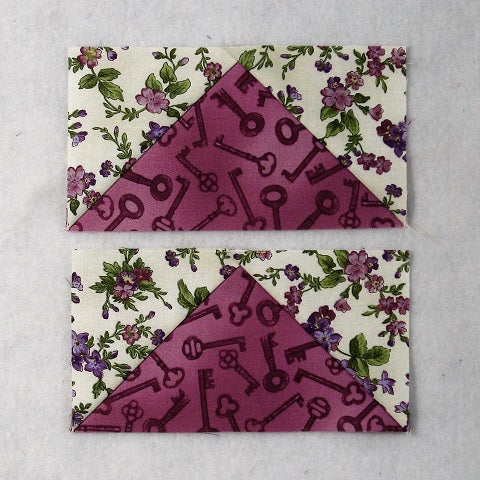
You will need two Flying Geese units made with the two Light Print 3.5″ x 6.5″ rectangles and four Dark Purple 3.5″ squares as shown in the picture below. You can find my no-trim method for making Flying Geese blocks at https://quiltembroiderypdf.com/how-to-sew-a-basic-flying-geese-block
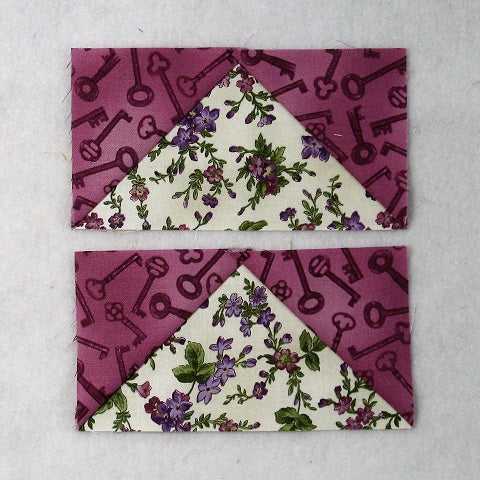
Since the Flying Geese units for this block are on the large size, I went ahead and stitched a second seam about .5″ from the first seam. After matching the corners and pressing, I then cut between the two stitching lines which you can see in the picture below.
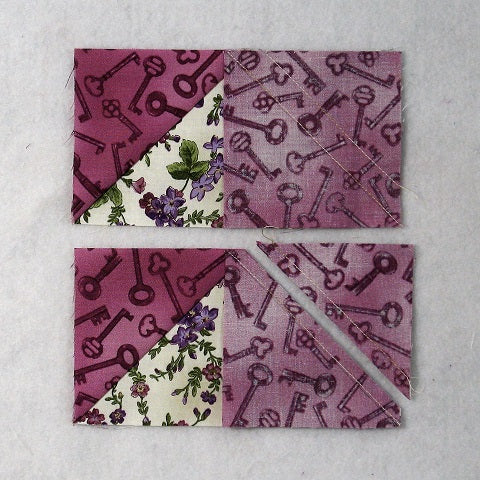
This creates two bonus 2.5″ Half Square Triangles for every Flying Geese unit that I can use in another block or quilt.

Step 4:
Now you can make two more units using the Dark Purple 3.5″ x 6.5″ rectangles and the Light Print 3.5″ squares as shown below.
Putting It All Together:
Step 5:
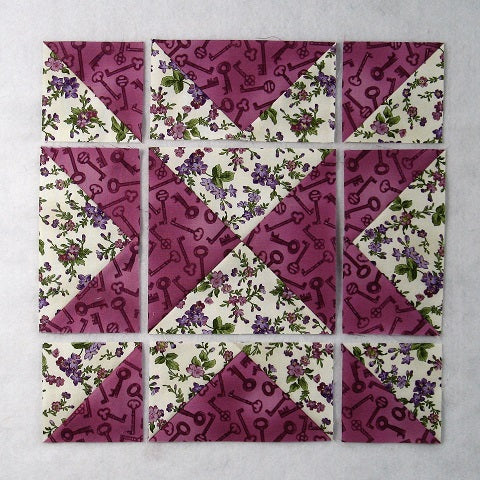
Lay out the Hourglass unit, the Half Square Triangle units, and the Flying Geese units as shown in the picture below.
Step 6:
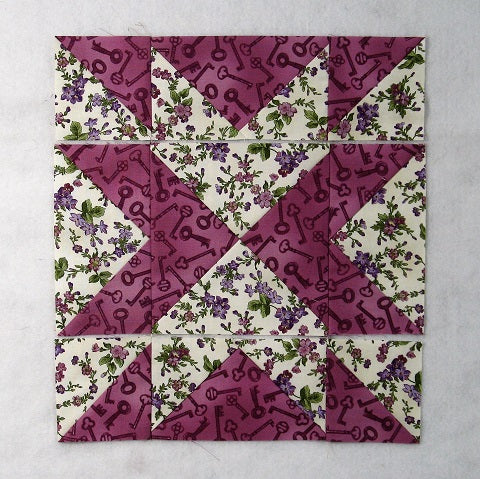
From here the block goes together like an uneven Nine Patch. First you sew the units into three rows as shown below.
Step 7:
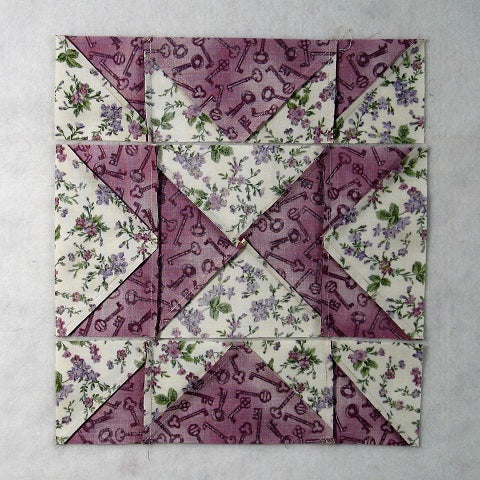
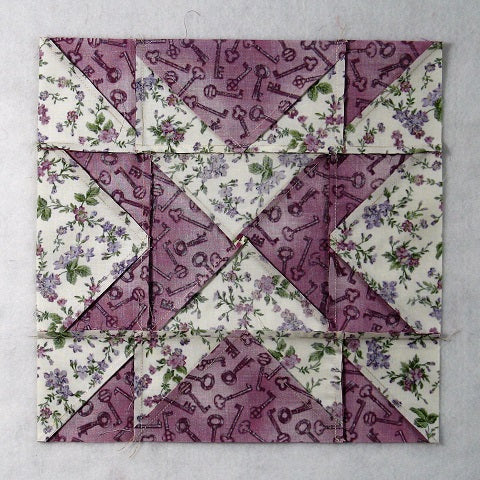
Then press the seam allowances away from the Flying Geese units as shown in the picture below.
Step 8:
Sew those rows together and…
Step 9:
Press the seam allowances toward the center of the block as shown in the picture below. You’re finished!
Layout Ideas: