The complete pattern for this beautiful project is available for free in the blog post below. If you prefer a clean, ad-free version that’s easy to save and print, the PDF includes 3 sizes so you can choose the one that works best for you. You can get the printable PDF pattern here.
The Scrappy Brick Quilt combines simple rectangular pieces, soft vintage colors, alternating block directions, and a colorful patchwork border to create a quilt that looks detailed without requiring complicated piecing.
This tutorial is written specifically for the Throw size: 48″ × 60″, approximately 122 × 152 cm.
Every cutting measurement, block count, border measurement, fabric requirement, and assembly checkpoint in this article belongs to that size.
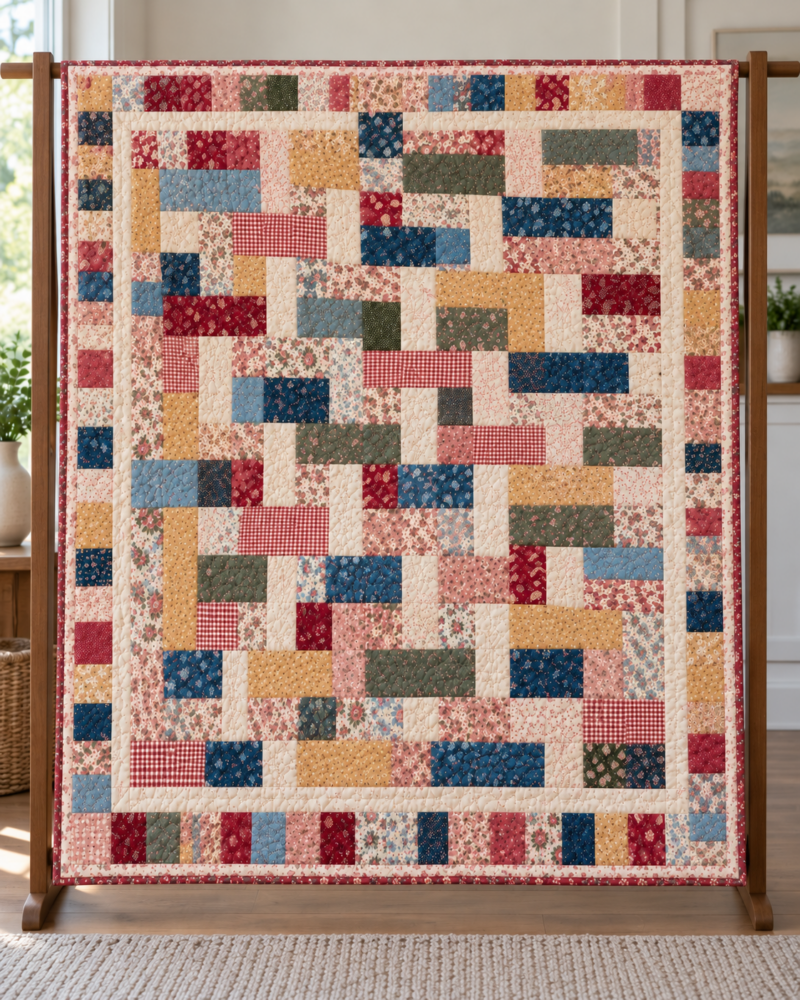
The finished design has a warm collected-over-time appearance. Dusty reds, muted blues, mustard, olive green, dusty rose, cream, gingham, calico, and small florals create the vintage character, while an ivory inner border gives the busy prints room to breathe.
- Scrappy Brick Quilt Specifications
| Specification | Throw Version |
| Finished Size | 48″ × 60″ / approx. 122 × 152 cm |
| Finished Center | 36″ × 48″ |
| Block Size | 6″ finished / 6½” unfinished |
| Center Layout | 6 blocks × 8 blocks |
| Total Blocks | 48 |
| Total Center Bricks | 96 |
| Inner Border | 2″ finished |
| Outer Border | 4″ finished patchwork border |
| Seam Allowance | ¼” throughout |
| Skill Level | Confident Beginner |
- Vintage Color Palette
Choose slightly muted colors rather than highly saturated modern shades. The goal is a soft heritage look similar to a quilt assembled gradually from treasured scraps.
- Warm Ivory / Cream – main neutral and inner border – View on Amazon
- Vintage Red / Burgundy – warm accent and binding – View on Amazon
- Navy Blue – darkest cool accent – View on Amazon
- Dusty Denim Blue – softer blue accent – View on Amazon
- Antique Mustard / Ochre – warm golden accent – View on Amazon
- Olive / Sage Green – muted natural green – View on Amazon
- Dusty Rose – soft pink accent – View on Amazon
- Vintage Florals, Gingham and Calico – used throughout the scrappy sections – View on Amazon
Small-scale prints are especially effective because every cut piece remains visually interesting without overwhelming the overall design.
- Fabric Requirements
| Fabric | Amount |
| Warm Ivory / Cream Quilting Cotton | 1¼ yd |
| Assorted Vintage Prints | 2¼ yd total, or 10–12 fat quarters plus scraps |
| Vintage Red Binding Fabric | ½ yd |
| Standard-width Backing | 4 yd |
| Batting | At least 56″ × 68″ |
Recommended Quilting Tools
For accurate cutting and piecing, use a sharp 45 mm rotary cutter, a large self-healing cutting mat, a 6″ × 24″ acrylic quilting ruler, an accurate ¼” presser foot, cotton piecing thread, quilting needles, an iron, and a flat pressing surface.
- OLFA RTY-2/G 45 mm Rotary Cutter – View on Amazon
- Omnigrid 6″ × 24″ Quilting Ruler – View on Amazon
- Fiskars 24″ × 36″ Self-Healing Cutting Mat – View on Amazon
- Aurifil 50wt Natural White 2021 Cotton Thread – View on Amazon
- SCHMETZ Quilting Needles 90/14 – View on Amazon
Always check that a presser foot is compatible with your specific sewing-machine model before purchasing.
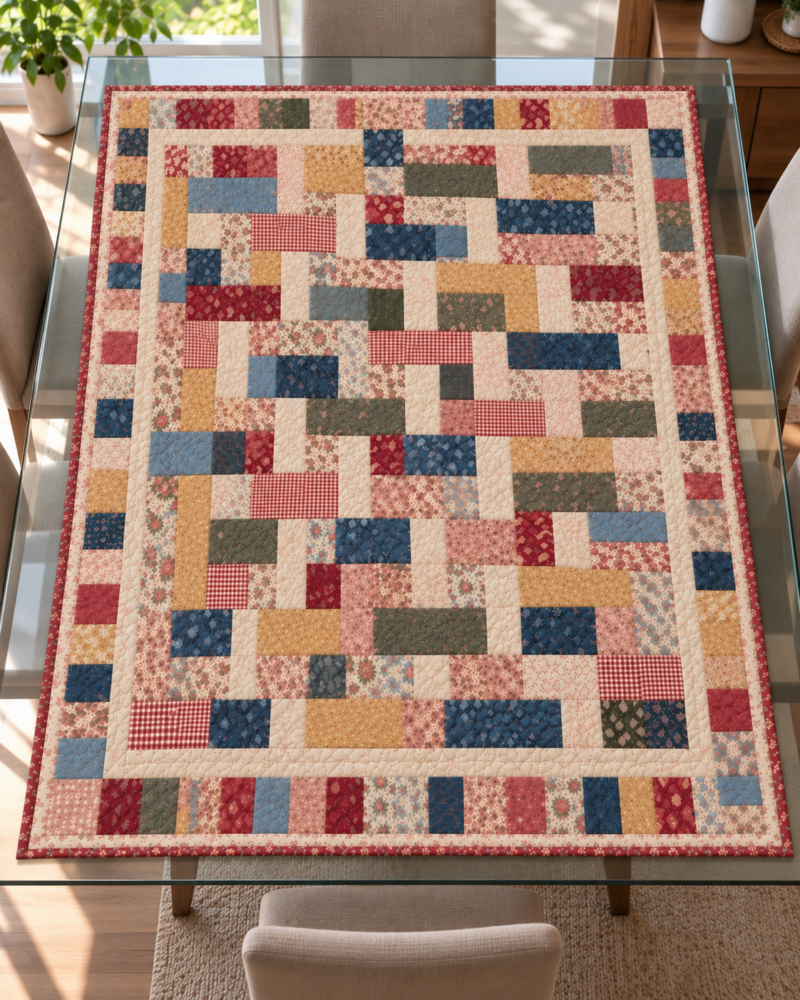
- Cutting Chart
- Warm Ivory / Cream
Cut 32 rectangles measuring 3½” × 6½” for the quilt center.
Optional but recommended: cut two additional rectangles as replacements.
Cut 5 strips measuring 2½” × WOF for the inner border.
- Assorted Vintage Prints
Cut 64 rectangles measuring 3½” × 6½” for the center.
Prepare approximately four extra rectangles if fabric allows. They provide flexibility if two identical or visually heavy prints meet during layout.
- Outer Patchwork Border
Cut 100 assorted rectangles measuring 2½” × 4½”.
For easier color selection, cutting 104 pieces and selecting the best 100 during layout is recommended.
- Binding
Cut 7 strips measuring 2½” × WOF from vintage red or burgundy fabric.
- Understanding the Brick Block
Each center block begins with two rectangles measuring 3½” × 6½”. Place the two pieces right sides together along one 6½” edge and sew using an accurate ¼” seam allowance.
Press the seam toward the darker fabric whenever practical.
The resulting block must measure:
6½” × 6½” unfinished.
Once sewn into the quilt, it finishes at 6″ × 6″. Rotating this same square by 90 degrees produces the alternate block orientation, so no second block formula is required.
- Make the 48 Blocks
The center requires 48 blocks. Because each block contains two bricks, the entire center contains exactly 96 rectangular pieces: 32 cream and 64 assorted prints.
After sewing each pair, verify the 6½” square measurement. Correcting a seam allowance at this stage is much easier than trying to compensate after the rows have been assembled.
- Block Orientation Map
- Row 1: H – V – H – V – H – V
- Row 2: V – H – V – H – V – H
- Row 3: H – V – H – V – H – V
- Row 4: V – H – V – H – V – H
- Row 5: H – V – H – V – H – V
- Row 6: V – H – V – H – V – H
- Row 7: H – V – H – V – H – V
- Row 8: V – H – V – H – V – H
H means the brick seam runs horizontally. V means that the completed block is rotated 90 degrees. Alternating these directions produces the woven brick-path movement.
- Plan the Colors Before Sewing the Rows
Place all 48 blocks on a design wall, clean floor, bed, or large table. Distribute dark colors around the entire quilt rather than collecting them in one corner.
Do the same with red, mustard, blue, green, and pink. Cream pieces should create small visual resting areas across the quilt rather than one obvious stripe.
Taking a phone photograph of the layout is useful. Repeated fabrics and heavy color concentrations are often easier to notice in a photograph.
- Sew the Eight Rows
Sew six blocks together to form each row. Maintain a consistent ¼” seam.
Each row should measure approximately:
36½” × 6½” unfinished.
Press the seams of Row 1 in one direction and Row 2 in the opposite direction. Continue alternating. This helps neighboring seam allowances nest when the rows are joined.
- Assemble the Quilt Center
Join the eight rows in order, matching block intersections carefully. Pin or clip at the important intersections before sewing.
The completed center should measure:
36½” × 48½” unfinished.
Finished center size:
36″ × 48″.
- Important Border Measurement Rule
Do not automatically cut a border from only the theoretical measurement. Measure the quilt through the center as well as near both opposite edges. If the measurements differ slightly, use the average.
This prevents the border from being stretched onto the quilt and greatly reduces the risk of a wavy finished top.
- Add the 2″ Cream Inner Border
Join the 2½” WOF strips as required.
Theoretical side-border cuts:
2 pieces, 2½” × 48½”.
Attach the two side borders first and press toward the border.
Then prepare:
2 pieces, approximately 2½” × 40½”
for the top and bottom.
After attaching the inner border, the top should measure:
40½” × 52½” unfinished.
- Make the Vintage Patchwork Border
Each patchwork border piece measures 2½” × 4½”. After seam allowances, each unit contributes 2″ of border length and 4″ of finished border depth.
Make:
- 2 side borders of 26 pieces each
- 2 top/bottom borders of 24 pieces each
The 26-piece borders measure 52½” unfinished, matching the quilt height before attachment. After those sides are sewn on, the quilt width becomes 48½” unfinished. The 24-piece borders also measure exactly 48½” unfinished.
This is why the border closes mathematically without trimming away random colored rectangles at the corners.
- Attach the Patchwork Border
Attach both 26-piece side borders first. Match the ends and center, then add pins or clips between those points.
After pressing, attach the two 24-piece borders to the top and bottom.
The completed quilt top should measure:
48½” × 60½” unfinished.
- Backing and Batting
For comfortable quilting room, prepare backing and batting at least 4″ larger than the quilt top on every side.
Minimum working size:
56″ × 68″.
Four yards of standard 42″–44″ wide backing fabric provides enough length to piece a backing for this Throw.
- Make the Quilt Sandwich
Place the backing wrong side up and smooth it without stretching. Position the batting over the backing, followed by the quilt top right side up.
Smooth from the center outward and baste using curved safety pins, quilting basting spray, or thread basting according to your preferred method.
- Quilting
Loose meandering quilting works especially well with this design because it adds soft texture without competing with the many small prints.
For a beginner using a walking foot, gentle wavy lines approximately 1½”–2″ apart are another practical option.
Use warm ivory, natural white, or light beige thread so the quilting remains visible but does not overpower the patchwork.
- Square and Bind the Quilt
After quilting, trim the excess batting and backing while keeping all four corners square.
Join the seven 2½” binding strips with diagonal seams. Trim each joining seam to ¼”, press open, then fold the entire strip in half lengthwise with wrong sides together.
Attach the double-fold binding around all four true outer edges, creating a clean miter at each corner.
The completed Vintage Brick Path Quilt measures:
48″ × 60″ / approximately 122 × 152 cm.
- Final Tips for a Professional Finish
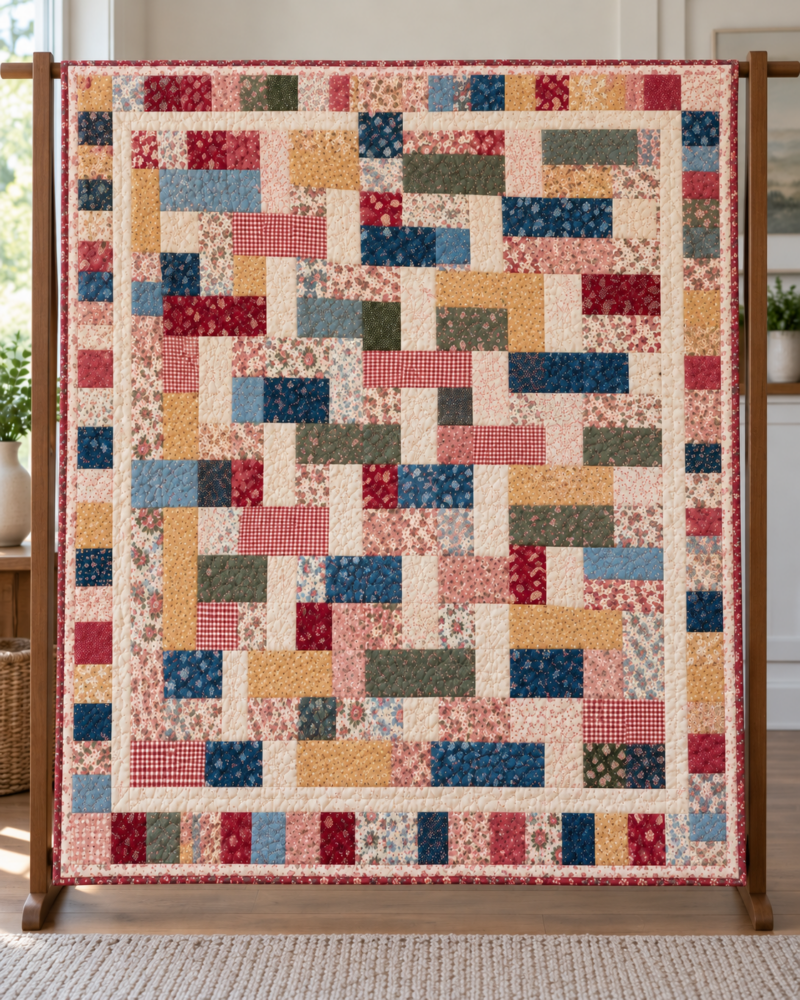
Cut accurately, test your ¼” seam before chain piecing, and verify that every completed block measures 6½” square. Measure the quilt before adding borders instead of stretching border strips to fit.
Most importantly, allow the fabrics to look collected rather than perfectly matched. Small florals, checks, stripes, calicos, and softened traditional colors are what give the Vintage Brick Path Quilt its warm handmade character.
With accurate cutting and careful pressing, the construction remains simple enough for a confident beginner while producing a finished quilt with the layered, timeless appearance of traditional patchwork.
Affiliate Disclosure: This PDF may contain Amazon affiliate links. As an Amazon Associate, we may earn from qualifying purchases at no additional cost to you.
Printable Premium Pattern
This free article teaches the complete Throw 48″ × 60″ / 122 × 152 cm version.
The Craft Patterns — Premium Pattern edition includes individually calculated instructions for three finished sizes:
- Baby Quilt – 100 × 70 cm
- Throw – 122 × 152 cm
- Queen – 229 × 229 cm
Each premium size receives its own cutting quantities, material requirements, layout information, border calculations, backing, batting, binding, and assembly checkpoints. The larger versions are not created by simply enlarging the Throw measurements.