This scrappy Lattice Star block has a pinwheel in the middle. Plus it creates a wonderful secondary design when made into a quilt! Let’s get started!
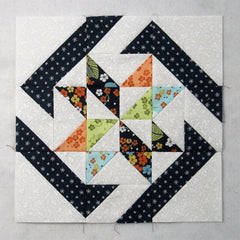
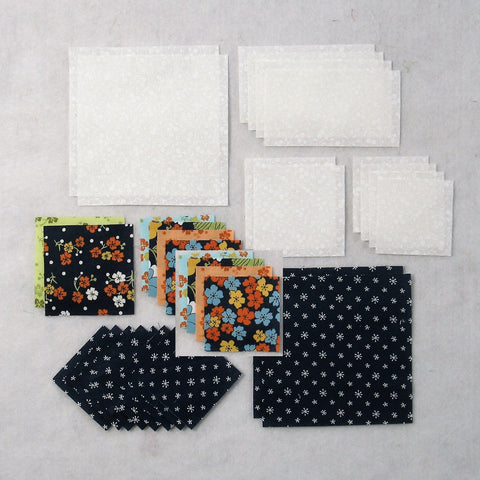
Fabric Requirements for a 12″ Finished Lattice Star Quilt Block:
- Light/White: 2 – 5″ squares, 8 – 2.5″ x 4.5″ rectangles, 2 – 3″ squares, and 4 – 2.5″ squares
- Assorted Prints: 2 – 3″ squares, 8 – 2.5″ squares
- Dark/Navy: 2 – 5″ squares, and 8 – 2.5″ squares
Sewing Directions:
Flying Geese/Parallelogram Units:
Step 1:
Using the four Light/White 2.5″ x 4.5″ rectangles and the eight Assorted Prints 2.5″ squares, sew together four Flying Geese patches like the ones in the picture below. You can find my tutorial and method for sewing Flying Geese blocks at https://quiltembroiderypdf.com/how-to-sew-a-basic-flying-geese-block

Step 2:
Using four Light/White 2.5″ x 4.5″ rectangles and the eight Dark/Navy 2.5″ squares, you need to make a Parallelogram unit (that’s what I’m calling it anyway). This is basically are the same as a Flying Geese block except that you sew the 2.5″ squares on opposite corners of the rectangle instead of adjacent corners. The top image shows the stitching and pressing steps and the bottom image shows the cutting and refolding steps.

Step 3:
Repeat Step 2 for a total of four Parallelogram units as shown in the picture below.

Step 4:
Match up a Step 1 Flying Geese patch and a Step 3 Parallelogram patch as shown below.

Step 5:
Stitch the two patches together and press the seam allowance away from the Flying Geese patch as shown in the picture below. Repeat Steps 4 and 5 for a total of four Flying Geese/Parallelogram units.

Center Unit:
Step 6:
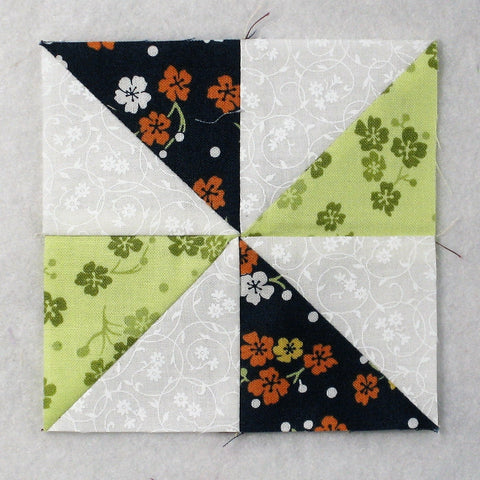
Using the two Light/White 3″ squares and the two Assorted Prints 3″ squares, sew together a Pinwheel unit like the one shown below. You can find my tutorial for making a basic Pinwheel block at https://quiltembroiderypdf.com/pinwheel-quilt-block-pattern. Each Half Square Triangle unit in the Pinwheel needs to be squared up/trimmed to a 2.5″ square.
Corner Unit:
Step 7:
Sew together four Half Square Triangle units using the Light/White 5″ squares and the Dark/Navy 5″ squares. Trim/square up to 4.5″ square. The Half Square Triangle block tutorial can be found at https://quiltembroiderypdf.com/how-to-sew-a-basic-half-square-triangle-block (After completing the block, I realized that if I had pressed the seam allowance toward the Light/White fabric, future seam allowances would have nested together nicely!)

Step 8:
Next you’re going to “snowball” the Dark/Navy corner on each Step 7 Half Square Triangle. Mark a diagonal line from corner to corner on the back of a Light/White 2.5″ square, match up to the corner, and stitch along the marked line (top left image). Then match up the corners of the Light/White 2.5″ square and press (top right image). Trim the seam allowance (bottom left image). Refold and it’s done (bottom right image).

Putting It All Together:
Step 9:
Layout the center Pinwheel unit, the Flying Geese/Parallelogram units, and the Corner units as shown in the picture below.

Step 10:
From here the block goes together like a basic Nine Patch block. First, sew the units into three rows as shown below.

Step 11:
And press the seam allowances away from the Flying Geese/Parallelogram units.

Step 12:
Then sew the three rows together as shown below.
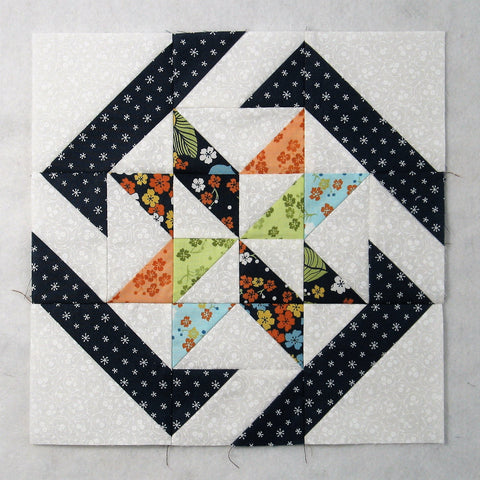
Step 13:
And press the seam allowances toward the center of the block as shown in the picture below. You’re done!
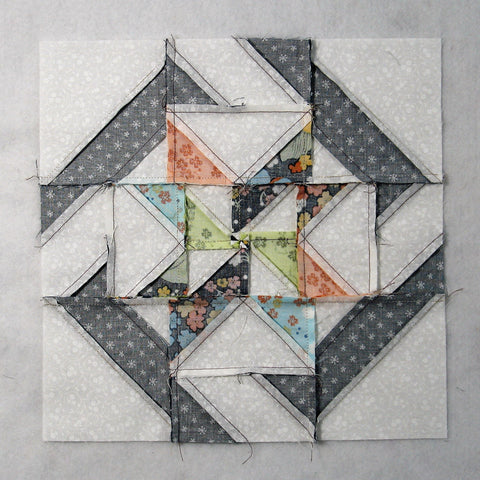
Layout Options:
Here are a few options for how to lay out this block in a quilt.
First, plain jane. I like the lattice look, but…

I like this one better. Here the regular block is alternated with a mirror image of itself.

The traditional way of coloring is just with a light and a dark. But, honestly, wouldn’t you lose the lattice design? Here it is in two darks and a light.

Here I had to play around with a funky alternating block. Not my best work!

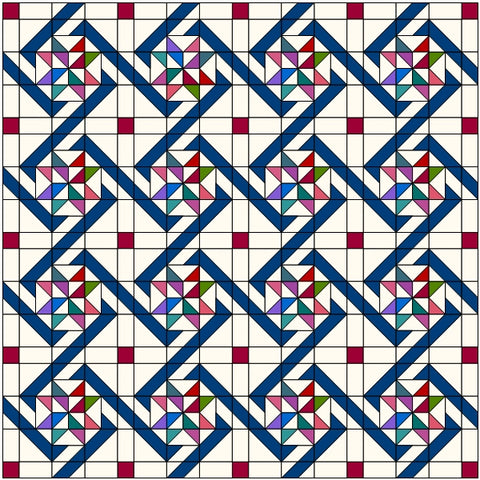
This is my favorite! I added in a pieced sashing and cornerstones. I like how the lattice continues from one block, through the sashing, and into the adjacent block.