Today let’s learn how to piece this lovely star block called Blueberry Pie. With a name like that, what’s not to love! It is made with Half Square Triangles, Flying Geese, and squares and I’ll walk you through each step for a successful finish. Plus, for some inspiration, there are layout suggestions at the end. Let’s get started!
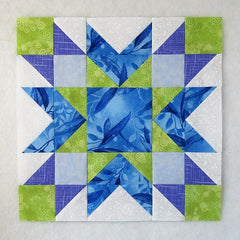
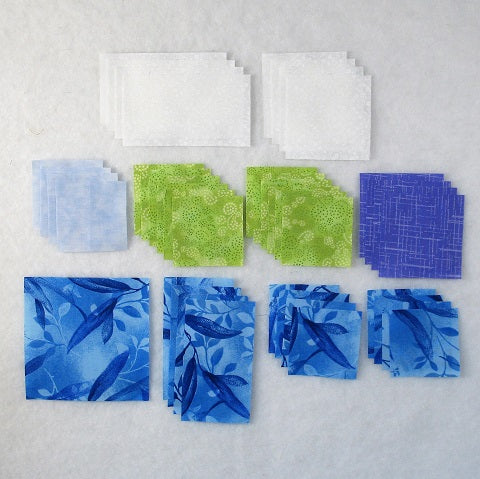
Fabric Requirements for a 12″ Finished Blueberry Pie Quilt Block:
- Light/White: 4 – 2.5″ x 4.5″ rectangles, and 4 – 3″ squares
- Light/Blue: 4 – 2.5″ squares
- Medium/Green: 12 – 2.5″ squares
- Dark/Purple: 4 – 3″ squares
- Dark/Blue: 1 – 4.5″ square, 4 – 2.5″ x 4.5″ rectangles, and 8 – 2.5″ squares
Sewing Directions:
Half Square Triangle Units:
Step 1:
Using the Light/White and Dark/Purple 3″ squares, sew together Half Square Triangle units.
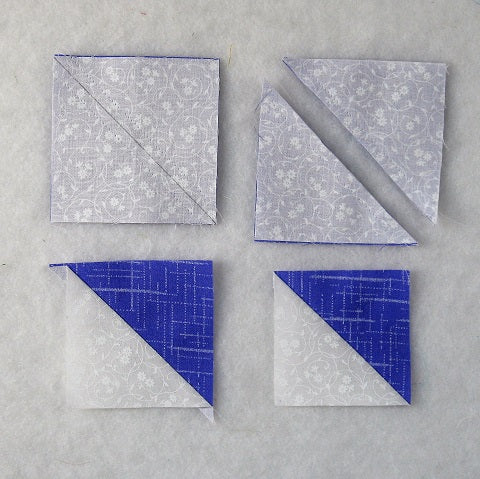
The picture below shows the four basic steps to making a Half Square Triangle.
- Mark a diagonal line from corner to corner on the back of one of the Light/White squares and sew 1/4″ (or a little less) on each side of the line.
- Cut along the diagonal line. You will have 2 half-square triangle patches.
- Open up the patch and press the seam allowance toward the Light/White fabric.
- Trim the unit to 2.5″ square.
For a detailed tutorial check out my blog post at https://quiltembroiderypdf.com/how-to-sew-a-basic-half-square-triangle-block.
Step 2:
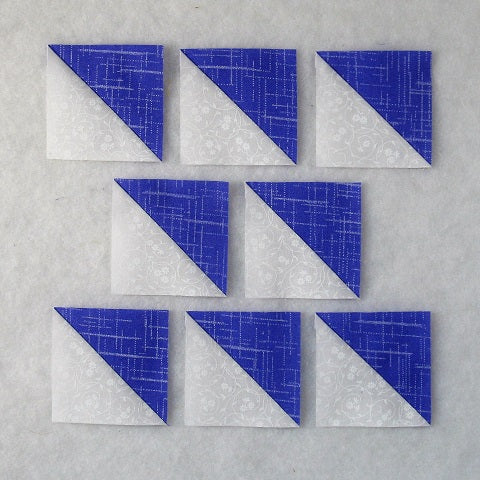
Repeat Step 1 for a total of eight Half Square Triangles like the ones shown below. You can also find a 8-at-a-time method for making HSTs at https://quiltembroiderypdf.com/two-easy-methods-for-making-half-square-triangle-quilt-blocks
Flying Geese Units:
Step 3:
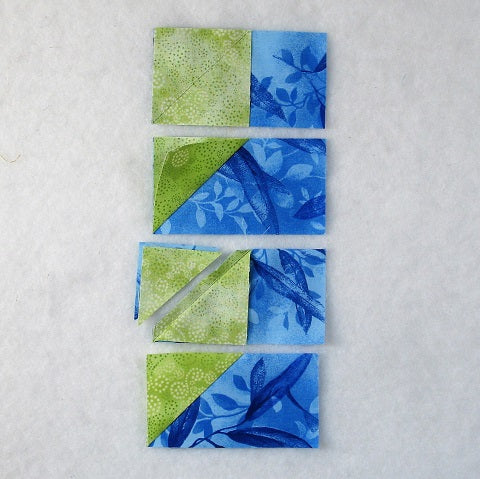
Using the Dark/Blue 2.5″ x 4.5″ rectangles and Medium/Green 2.5″ squares, make a Flying Geese unit. You can find my detailed tutorial using my no-trim method for making perfect Flying Geese at https://quiltembroiderypdf.com/how-to-sew-a-basic-flying-geese-block. In the picture below you can see the first four steps.
Step 4:
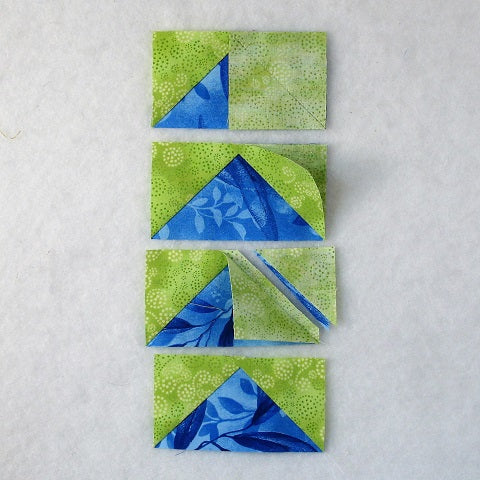
And here you can see the last four steps.
Step 5:
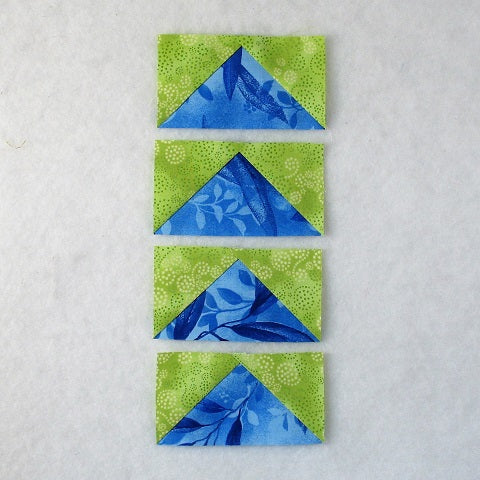
Repeat Steps 3 and 4 for a total of four Flying Geese units as shown below.
Step 6:
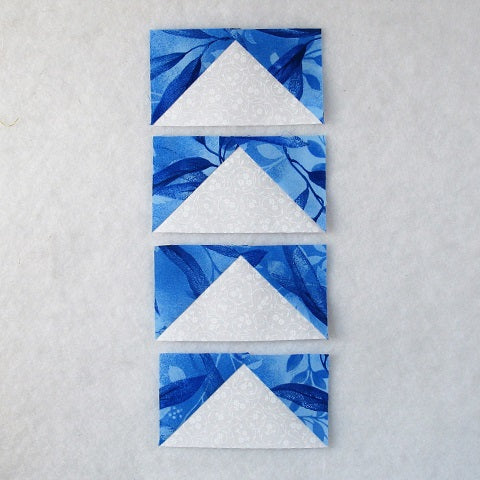
Repeat Steps 3 through 5 only using the Light/White 2.5″ x 4.5″ rectangles and Dark/Blue 2.5″ squares for a total of four Flying Geese units like the ones in the picture below.
Middle Units:
Step 7:
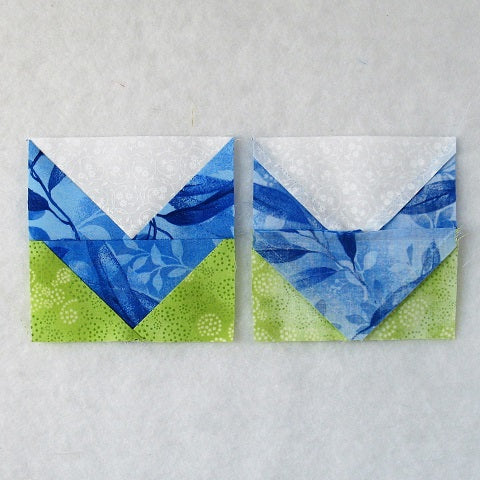
Sew together one Step 5 and one Step 6 Flying Geese units as shown in the picture below. Press the seam allowance away from the blue/green unit.
Step 8:
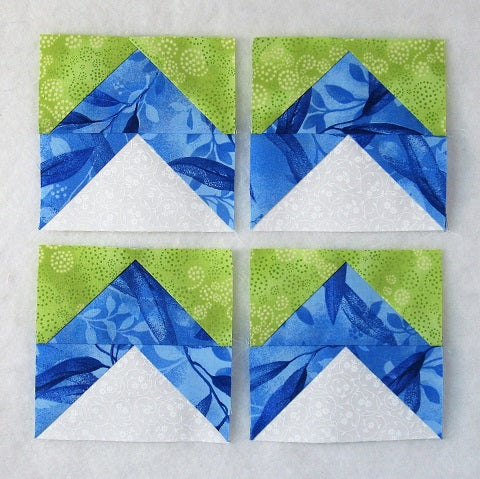
Repeat Step 7 for a total of four Middle units as shown below.
Corner Units:
Step 9:
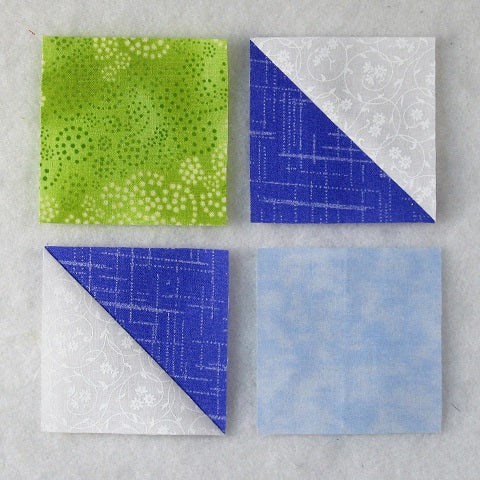
Lay out two Half Square Triangle units, one Medium/Green 2.5″ square, and one Light/Blue 2.5″ square as shown in the picture below. This unit goes together like a basic Four Patch block.
Step 10:
Sew the patches into two rows and press the seam allowances away from the Half Square Triangle pieces as shown. (Oops – you can see where I got carried away and marked the back of ALL the green squares!)
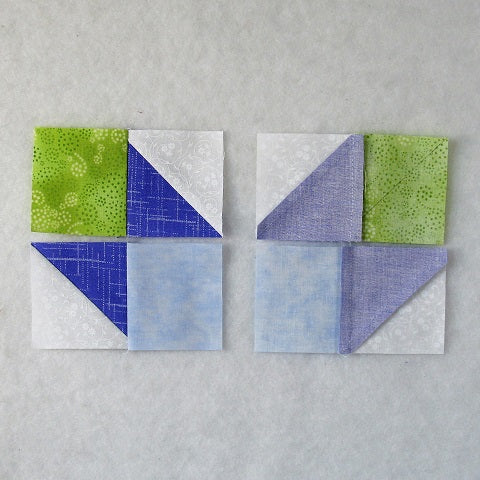
Step 11:
To complete the unit sew the two rows together and press the seam allowance toward the Light/Blue fabric as shown in the picture below.
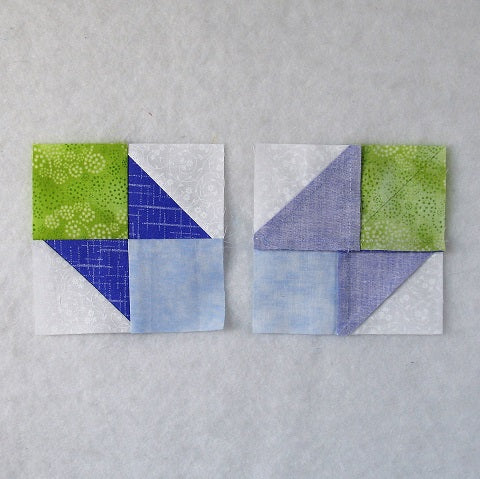
Step 12:
Repeat Steps 9 through 11 for a total of four Corner units.
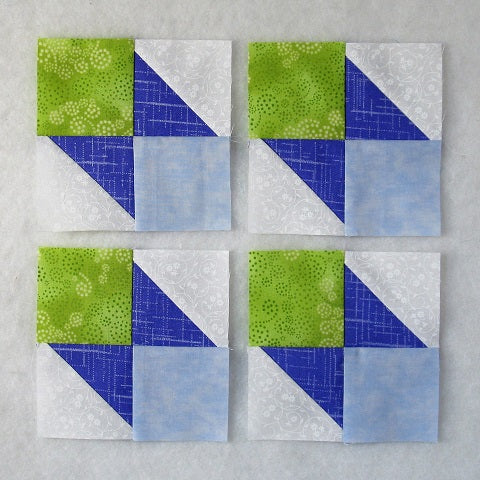
Putting It All Together:
Step 13:
Lay out the Corner units, the Middle units, and the Dark/Blue 4.5″ square as shown below. From here the block goes together like a basic Nine Patch block.
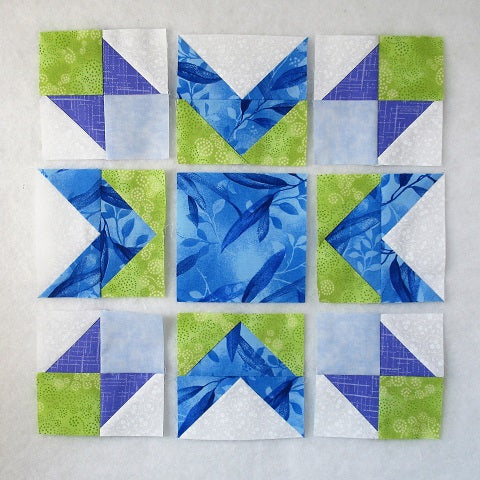
Step 14:
Sew the units into three rows.

Step 15:
You can see in the picture below that I’ve pressed the seam allowances away from the Middle units.
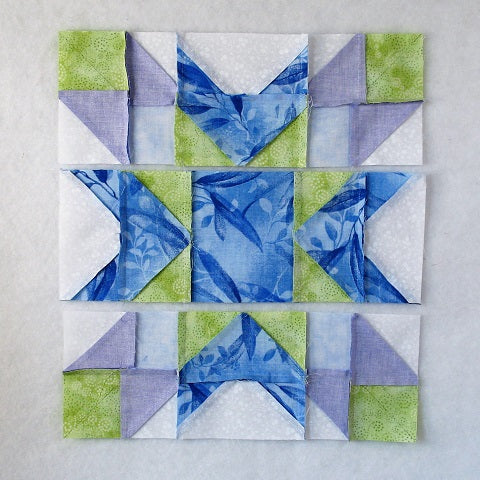
Step 16:
Sew the three rows together to complete the block!
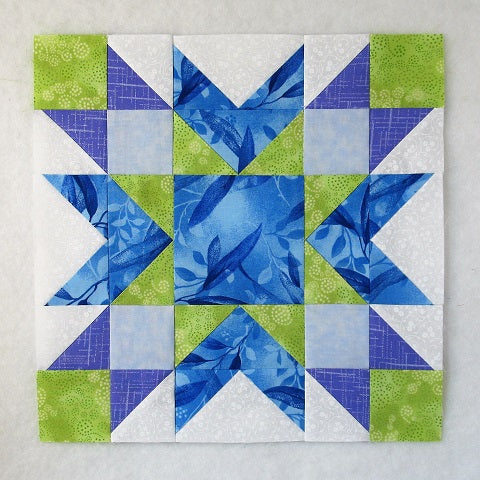
Step 17:
Press the seam allowances toward the center of the block as shown in the picture below. All done!
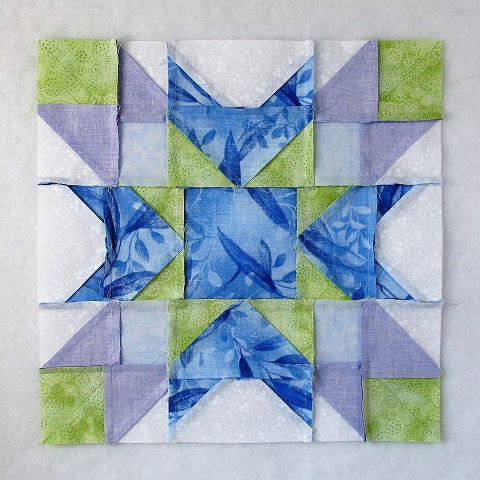
Layout Suggestions:
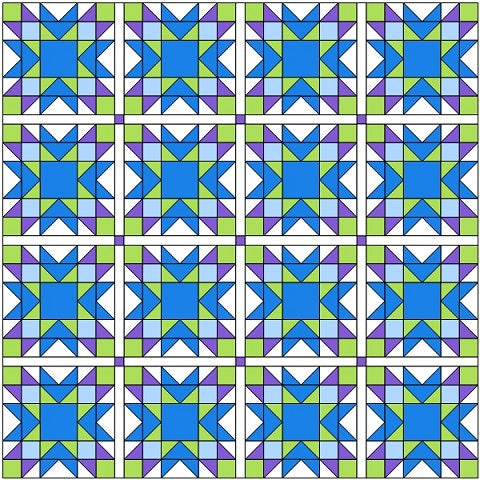
Here’s a typical 4 x 4 layout using similar colors as in this tutorial. It’s a bit busy for my taste.
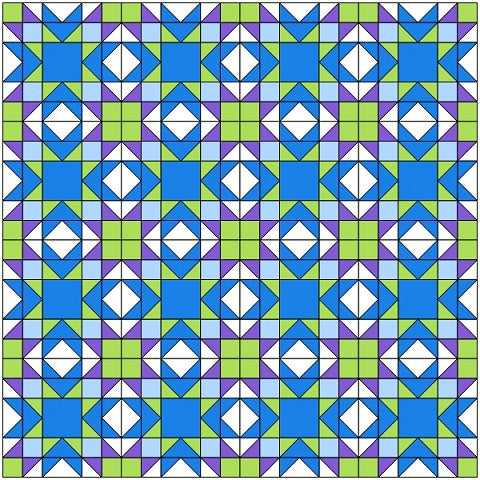
Here I’ve added in narrow sashing and cornerstones.
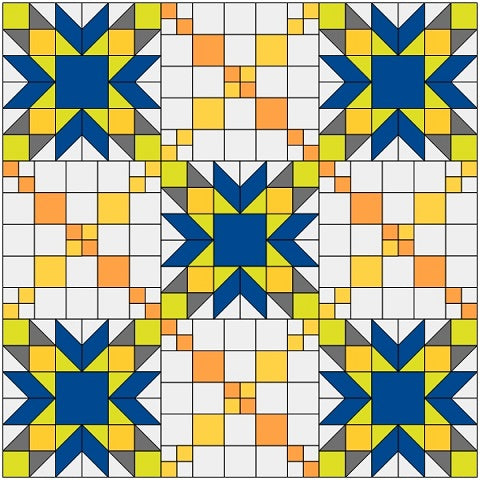
In this example, it is a 3 x 3 layout with an alternating chain block.
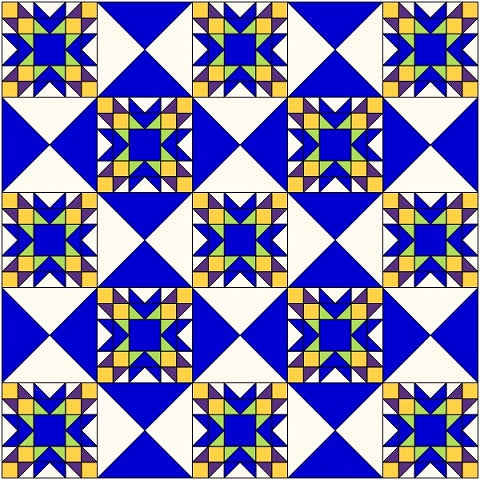
And this is a 5 x 5 layout with a very large Hourglass block as an alternating block.
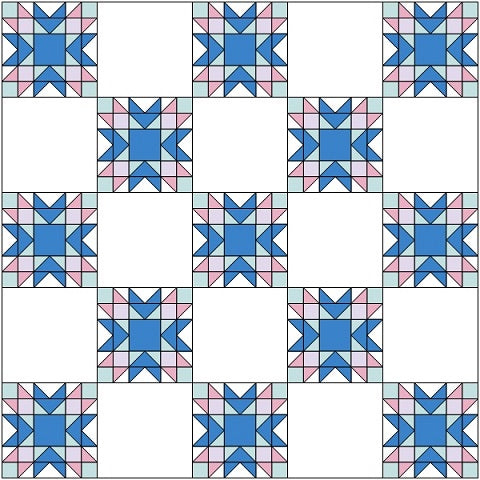
This is the same layout as above but with plain alternating blocks and muted pastel colors. You could do some fancy quilting in the plain blocks or applique.
This is a 3 x 3 on-point layout with a fun alternating chain block.
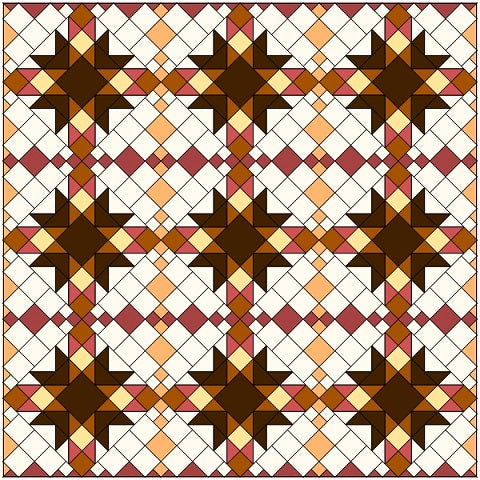
This is the same on-point layout but with a different chain block and plain setting triangles.
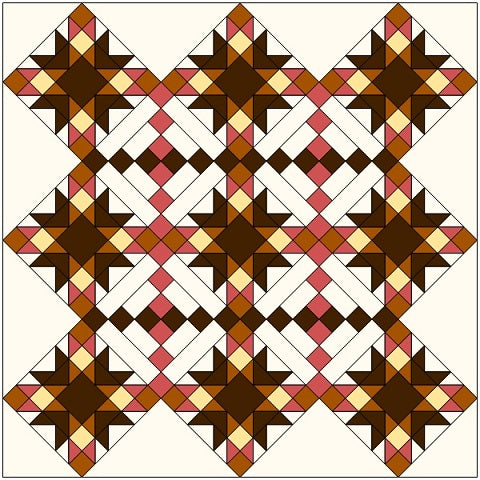
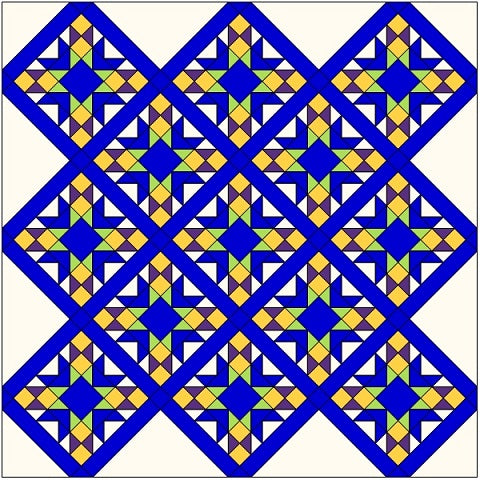
In this on-point example, I’ve added a wide sashing and eliminated the alternating blocks.