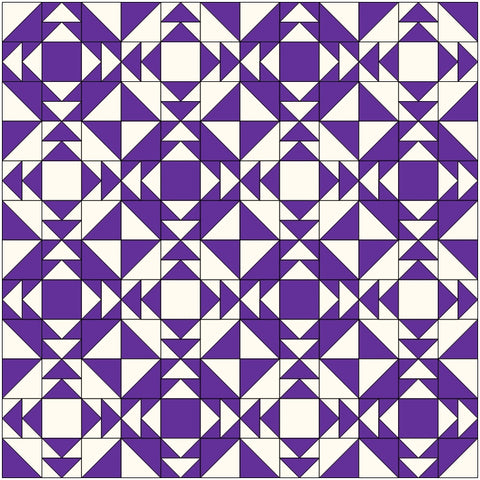
The Cups and Saucers quilt block is a quick one to sew and makes a stunning quilt. I’ve chosen to make a scrappy version but it looks great as a two-color block too.
The block was contributed by Mrs. Edward Hendreds to the Kansas City Star in 1936 and was a “revived” pattern meaning it had been around a long time! A true classic! With only half square triangles, flying geese, and squares, it goes together quickly. Let’s get sewing!

Fabric Requirements for a 12″ Finished Cups and Saucers Quilt Block:
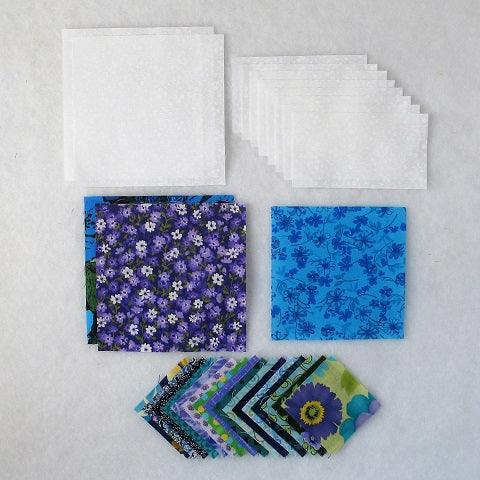
- Light/White: 2 – 5″ squares, and 8 – 2.5″ x 4.5″ rectangles
- Assorted Prints: 2 – 5″ squares, 1 – 4.5″ square, and 16 – 2.5″ squares
Sewing Directions:
Half Square Triangle Units:
Step 1:
Using a Light/White 5″ square and an Assorted Print 5″ square, sew together a Half Square Triangle unit.
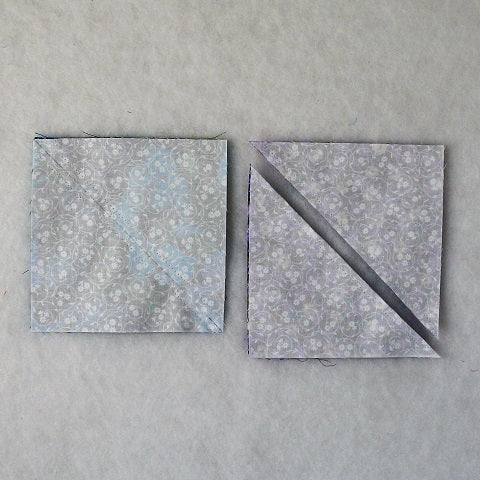
- Mark a diagonal line from corner to corner on the back of one of the Light/White squares and sew 1/4″ (or a little less) on each side of the line.
- Cut along the diagonal line. You will have 2 half-square triangle patches.
Step 2:
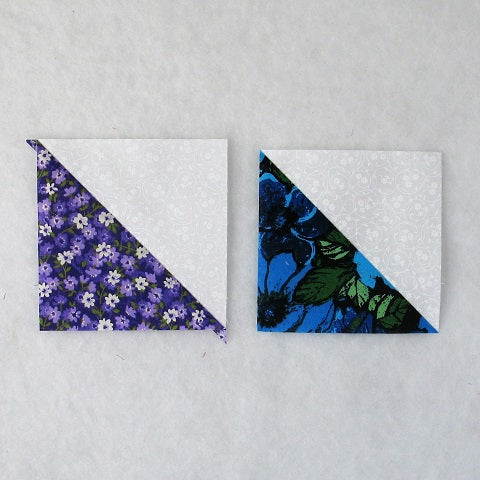
- Open up the patch and press the seam allowance toward the Assorted Print fabric.
- Trim the unit to 4.5″ square.
For a detailed tutorial check out my blog post at https://quiltembroiderypdf.com/how-to-sew-a-basic-half-square-triangle-block.
Step 3:
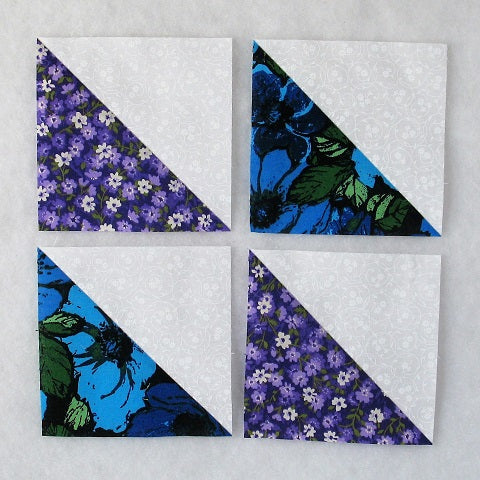
Repeat for a total of four Half Square Triangle units like the ones shown below. If I were making multiple blocks, I would have made more colorings of the these units to get a truly scrappy look.
Flying Geese Units:
Step 4:
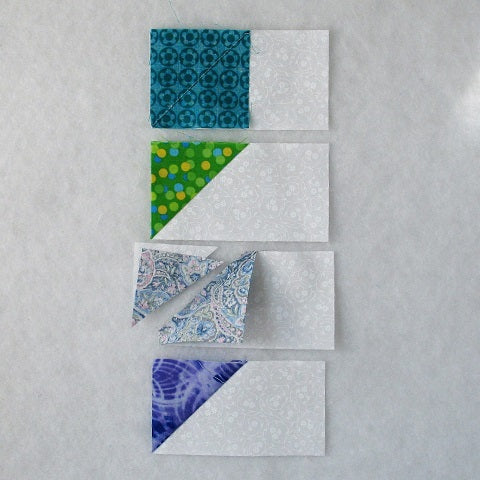
Using the Light/White 2.5″ x 4.5″ rectangles and Assorted Prints 2.5″ squares, make a Flying Geese unit. You can find my detailed tutorial using my no-trim method for making perfect Flying Geese at https://quiltembroiderypdf.com/how-to-sew-a-basic-flying-geese-block. In the picture below you can see the first four steps.
Step 5:
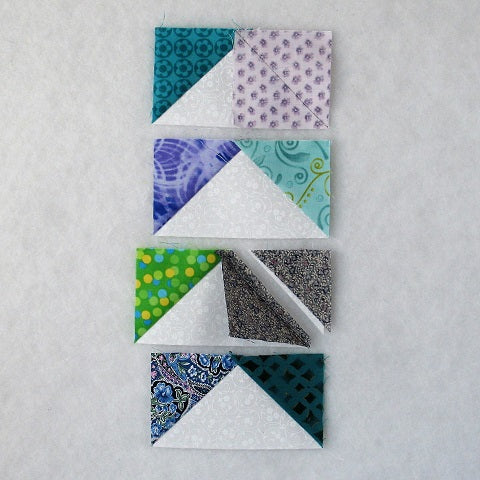
And here you can see the last four steps.
Step 6:
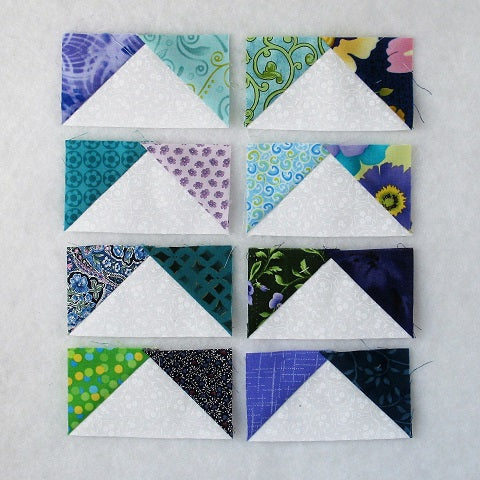
Repeat Steps 4 and 5 for a total of eight Flying Geese units as shown below.
Middle Units:
Step 7:
Sew together two Step 6 Flying Geese units and press the seam allowance as shown in the picture below (away from the point).
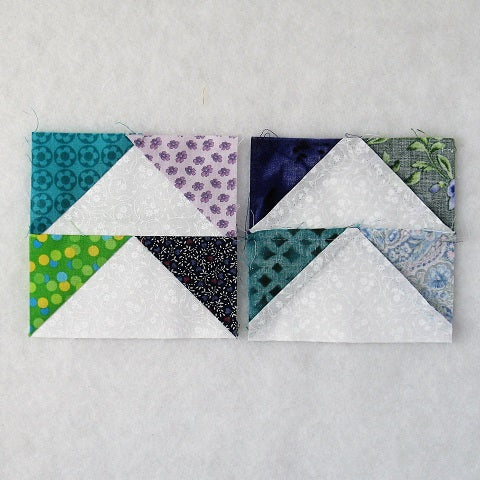
Step 8:
Repeat Step 7 for a total of four Middle units as shown below.
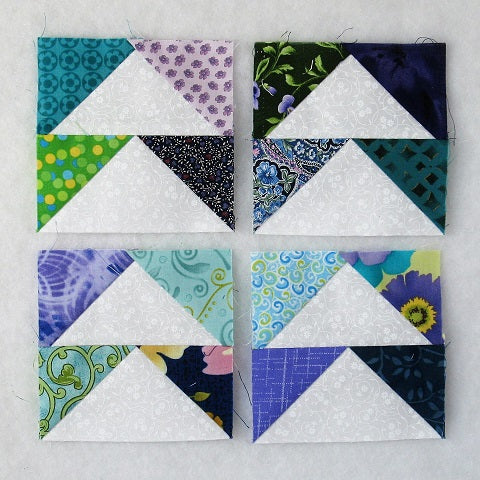
Putting It All Together:
Step 9:
Lay out the Half Square Triangle units, the Middle units, and the Assorted Prints 4.5″ square as shown below. From here the block goes together like a basic Nine Patch block.
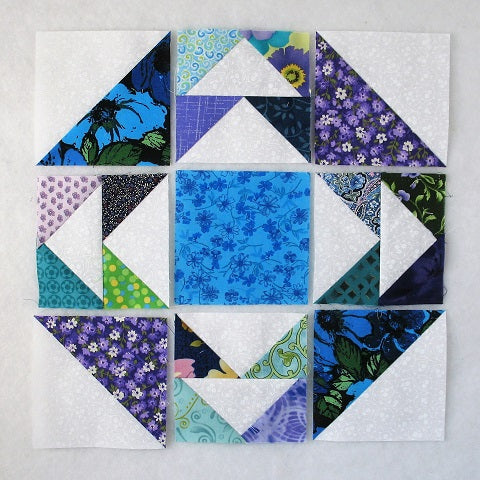
Step 10:
Just sew the units into three rows.
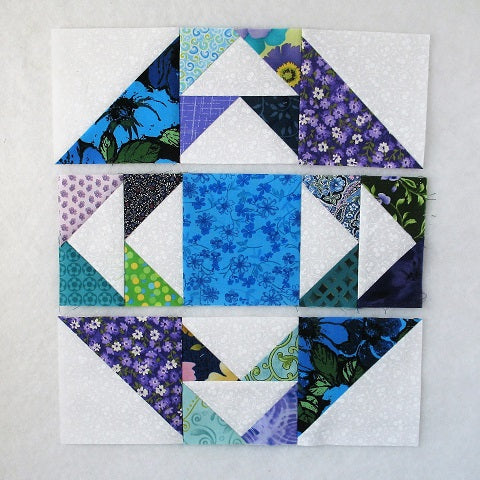
Step 11:
And press the seam allowances away from the Middle units as you can see in the picture below.
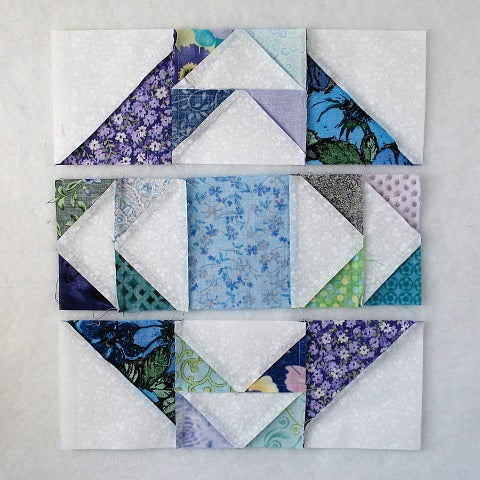
Step 12:
All that left is to sew the three rows together and…
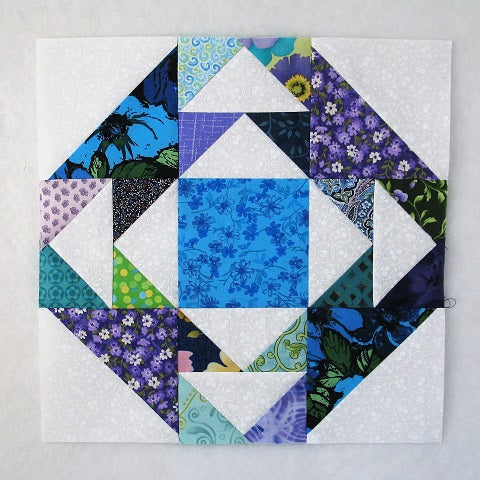
Step 13:
Press the seam allowances toward the center of block as shown. That’s it!

Layout Ideas:
Here’s a typical 4 x 4 layout with the scrappy block:
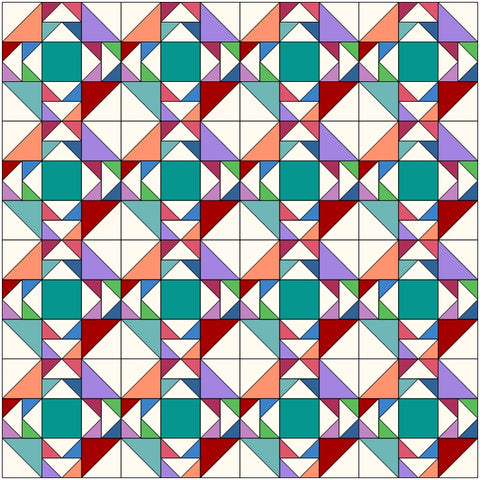
This is the same layout but using a two-color block.
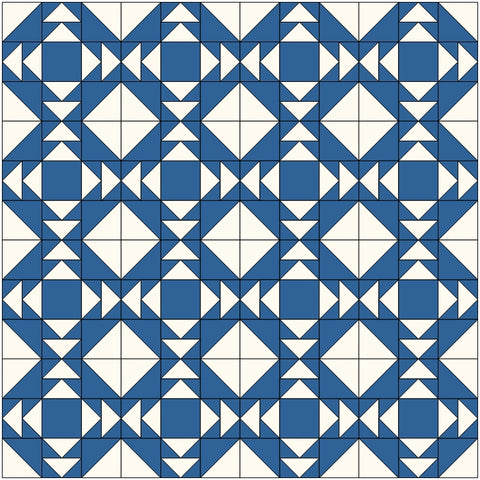
In this example I’ve used the two-color block and added in narrow sashing and cornerstones.
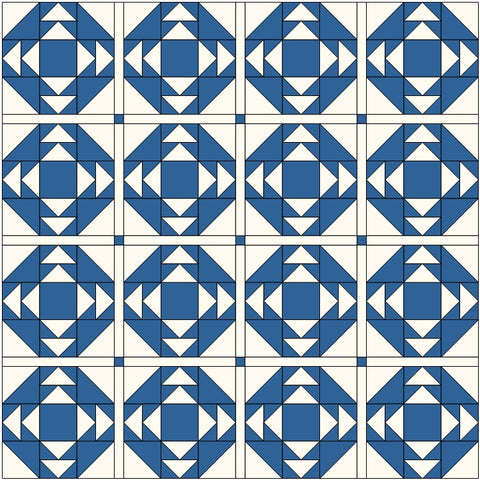
In this layout it is on-point and scrappy.
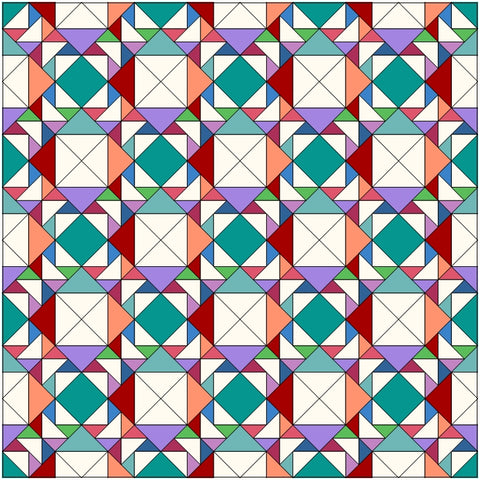
And this one is also on-point but with the light fabric used in the setting triangles.
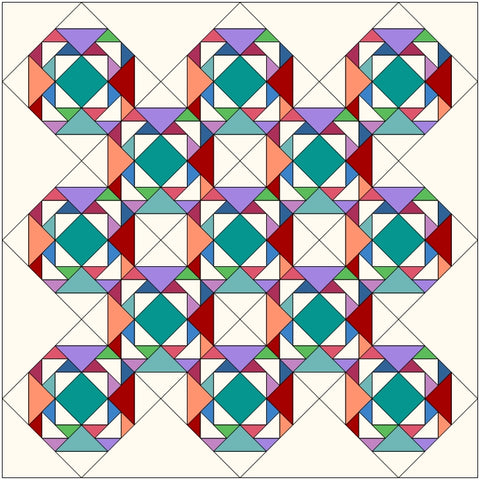
For this on-point example I added in dark sashings and light cornerstones for a different effect.
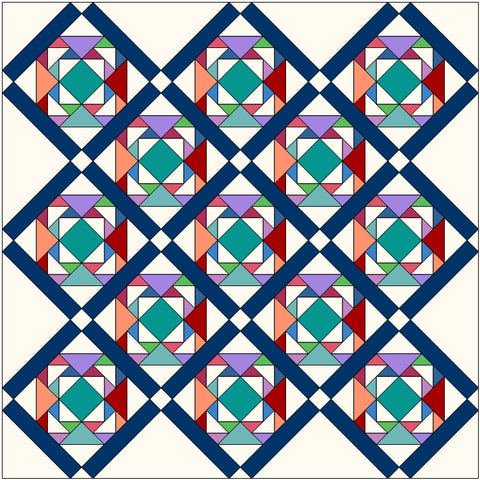
Here’s what reversing the colors looks like. This block is called Illinois.
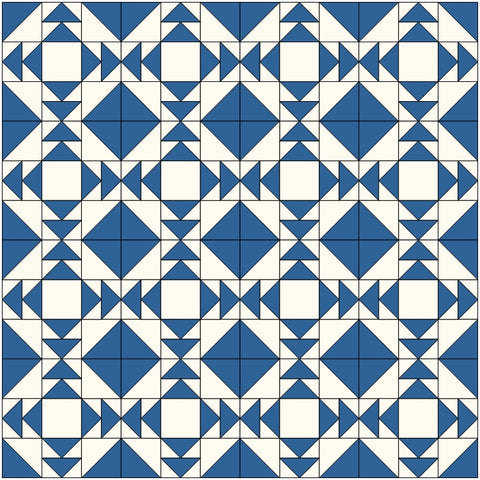
And for this one I alternated the Cups and Saucers block with the Illinois block. I really like this layout.