Skip to content

How to Make this Variation of the Massachusetts Quilt Block – a Free Blog Tutorial

    Let’s look at this variation of the Massachusetts quilt block today. Using only Half Square Triangle and Hourglass blocks plus two squares, it goes together quickly to create a lovely pattern. Traditionally, the block is made with only a light and a dark fabric but I wanted to create a block that would show off the design possibilities with four colors. Let’s get sewing!
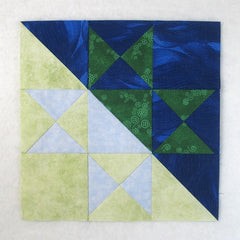
    massachusetts variation quilt block

    Fabric Requirements for a 12″ Finished Massachusetts Quilt Block:

    • Light Blue: 1 – 5.5″ square, and 1 – 5″ square
    • Light Green: 1 – 5.5″ square, 1 – 5″ square, and 1 – 4.5″ square
    • Dark Blue: 1 – 5.5″ square, 1 – 5″ square, and 1 – 4.5″ square
    • Dark Green: 1 – 5.5″ square, and 1 – 5″ square
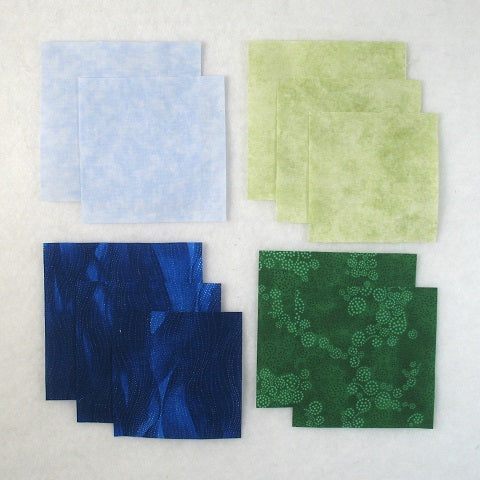
    massachusetts quilt block

    Sewing Directions:

    Half Square Triangle Units:

    Step 1:

    Using the Light Green 5″ square and the Dark Blue 4-5″ square, make two Half Square Triangle (HST) units as shown in the picture below. Press the seam allowance toward the Light Green fabric and trim the units to 4.5″ square. 

    You can find my detailed tutorial for making a basic Half Square Triangle block at https://quiltembroiderypdf.com/how-to-sew-a-basic-half-square-triangle-block.

    massachusetts 1

    Step 2:

    Repeat Step 1 only using the Light Blue and Dark Green 5″ squares. You will have an extra unit to use in the next block.
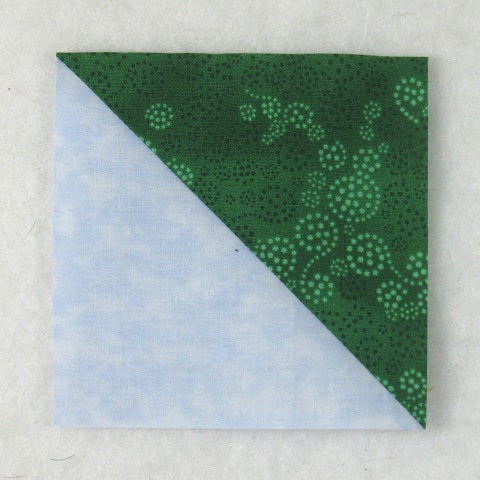
    massachusetts 2

    Hourglass Units:

    Step 3:

    First you need to mark a diagonal line from corner to corner on the back of the Light Green 5.5″ square and match it up, right sides together, with the Light Blue 5.5″ square.

    Sew 1/4″ on both sides of the marked line and cut along the marked line to make two half-square triangle units as shown below. 

    You can find a detailed tutorial for making a three-color Hourglass block in the tutorial https://quiltembroiderypdf.com/how-to-sew-a-basic-hourglass-or-quarter-square-triangle-block
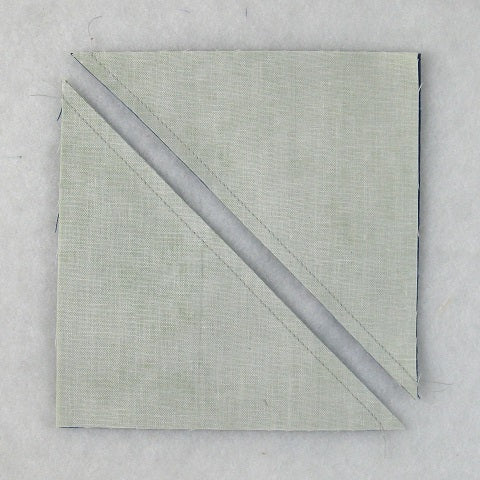
    massachusetts 3

    Step 4:

    Repeat Step 3 only using the Dark Green and Dark Blue 5.5″ squares.
    Open up the units and press the seam allowances whichever way you want to as shown in the picture below.

    Step 5:

    Mark a diagonal line on the back of one of the Step 4 units perpendicular to the seam line. It is more important to have the marked line perpendicular to the seam than to be from corner to corner – especially if you’re like me and not a perfect piecer!

    Match up a White/Red and an Aqua/Red half square triangle, right sides together and with the red fabric on opposite sides. Make sure that those seams nest together nice and tight!

    Sew 1/4″ on both sides of the marked line and then cut along the marked line as shown below.

    massachusetts 5

    Step 6:

    Open up the units and press the seam allowances. You can see in the picture below that I used the tweak/twirl/furl method of pressing these units and I do recommend that you press in the same manner.
    Repeat only using the Dark Green and Dark Blue 5.5″ squares.
    Trim/square up the units to 4.5″ square.

    Putting It All Together:

    Step 7:

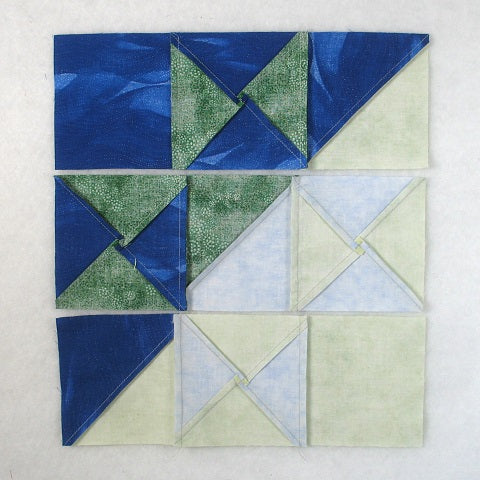
    Lay out the Half Square Triangle units, the Hourglass units, and the Dark Blue and Dark Green 4.5″ squares as shown in the picture below. From here the block goes together like a basic Nine Patch block.
    massachusetts 7

    Step 8:

    Sew the units into three rows as shown below.
    massachusetts 9

    Step 9:

    Press the seam allowances away from the Hourglass units as shown.
    massachusetts 8

    Step 10:

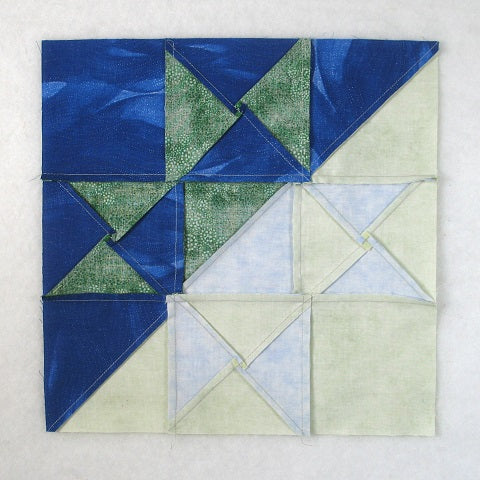
    All that’s left is to sew the three rows together and…
    massachusetts 10

    Step 11:

    Press the seam allowances toward the center of the block.
    massachusetts 11

    Layout Ideas

    I thought I should show you what the original coloring for this block is. Notice that if you drew an imaginary diagonal line from top left to bottom right corner, the two halves are mirror images of each other.
    massachusetts block
    Here’s the basic 4 x 4 layout.
    quilt 1
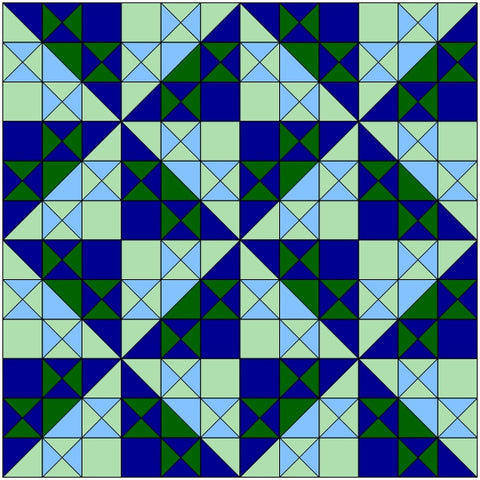
    And here the same coloring is used but the blocks are rotated to create a pinwheel effect.
    quilt 2
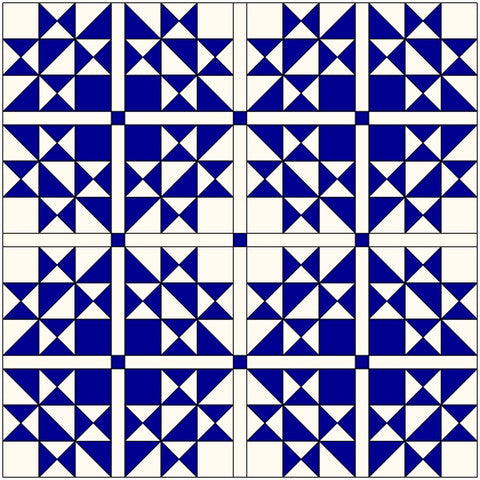
    Here’s an example of the two-color block with sashing and cornerstones and the blocks are rotated to create a diamond pattern.
    quilt 3
    And here’s another color possibility – three colors are used. Then every other block is rotated to make a diagonal stripe design.
    quilt 4
    This example is of an on-point layout with light green setting triangles.
    quilt 5