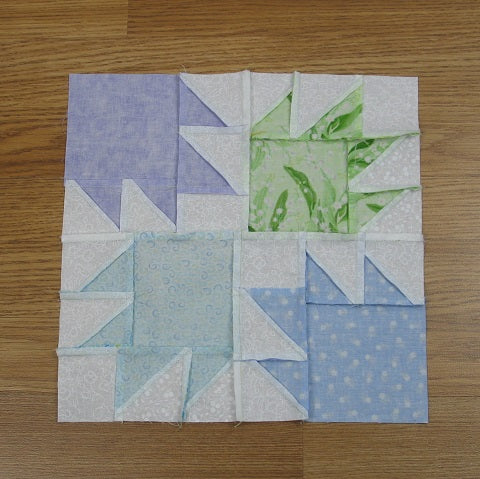
Today we’re going to put together the easy Bear Tracks quilt block! This is another variation of the traditional Bear Paw block. You can find my previous Bear Paw variation block at https://fabric-406.myshopify.com/blogs/fabric406-blog/free-bear-paw-quilt-block-pattern. The Bear Tracks block that we are sewing today uses 4 colored fabrics and a light background fabric. So let’s get started!
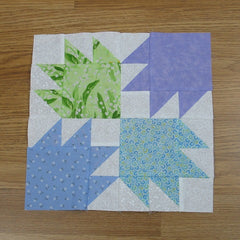
Fabric Requirements for a 12″ Finished Bear Tracks Quilt Block:
- Light/White: 8 – 3″ squares, and 4 – 2.5″ squares
- From each of the 4 prints: 1 – 4.5″ square, and 2 – 3″ squares

Sewing Directions:
Half-Square Triangle Units:
Step 1:
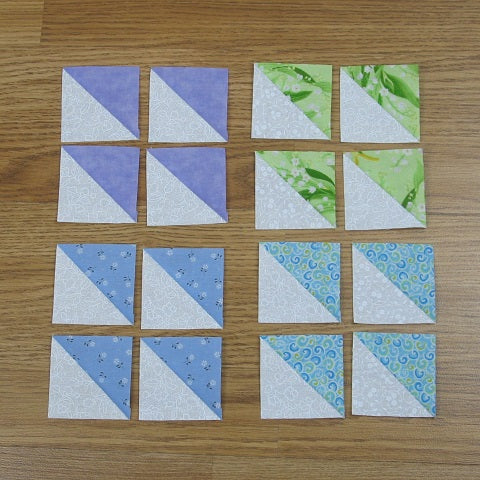
Using the 8 Light/White 3″ squares and the 8 Print 3″ squares, make 16 Half-Square Triangle (HST) units. You will need four HST units from each of the four prints as shown in the picture below. You can find my tutorial for making Half-Square Triangle units at https://fabric-406.myshopify.com/blogs/fabric406-blog/how-to-sew-a-basic-half-square-triangle-block
Bear Paw Units:
Step 2:
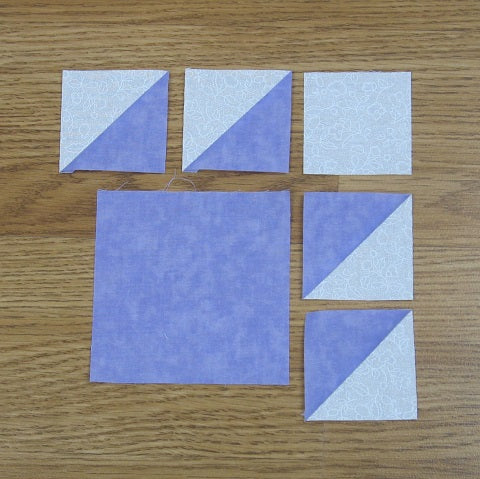
From each of the four Prints, lay out the 4.5″ square, the four HST units, and one Light/White 2.5″ square as shown below. This is just so you get the orientation of the HST units right.
Step 3:
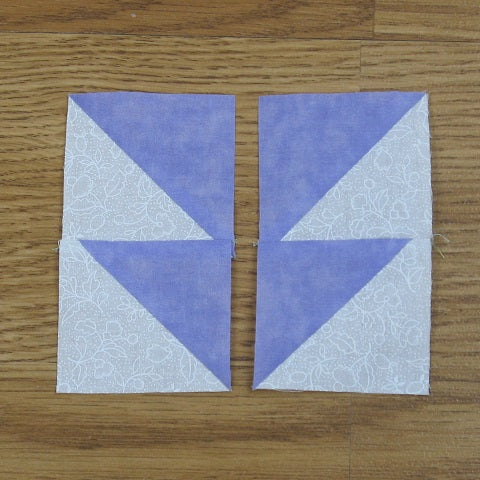
Sew two sets of HST units together as shown below. Notice that that the units are mirrors of each other.
Step 4:
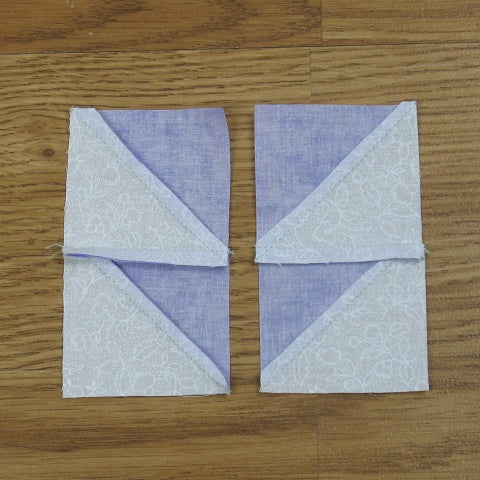
Press the seam allowances as shown in the picture below. Pressing in this direction will ensure that seams will nest together nicely making for nice points in the finished block.
Step 5:
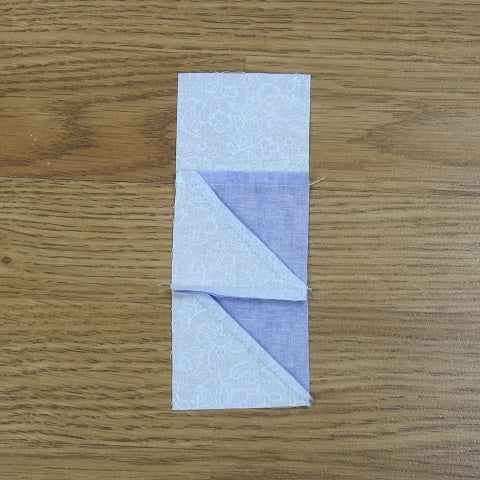
Now sew the Light/White 2.5″ square to one end of one of the units you just made. In the picture below you can see that I added it to the two HST unit on the right side of my lay out.

Step 6:
Press the seam allowance toward the Light/White 2.5″ square as shown in the picture below.
Step 7:
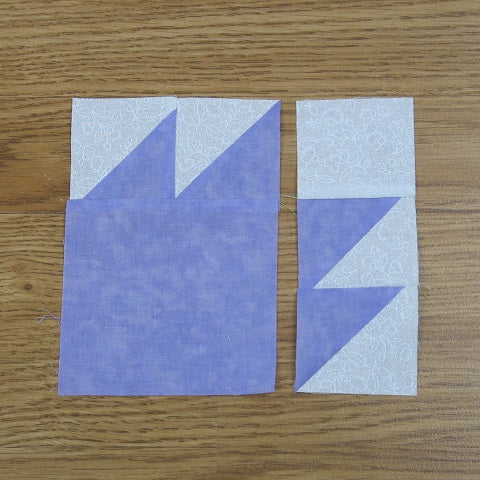
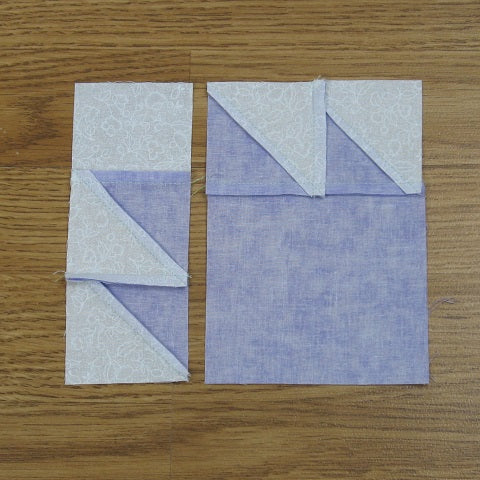
Now you can sew the other two HST unit to the 4.5″ square as shown below and…
Step 8:
Press the seam allowance toward the Print 4.5″ square like you can see in the picture below.
Step 9:
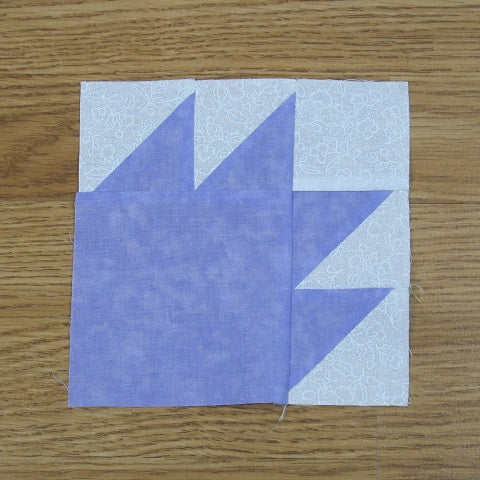
Sew the two columns together and…
Step 10:
Putting It All Together:
Step 11:
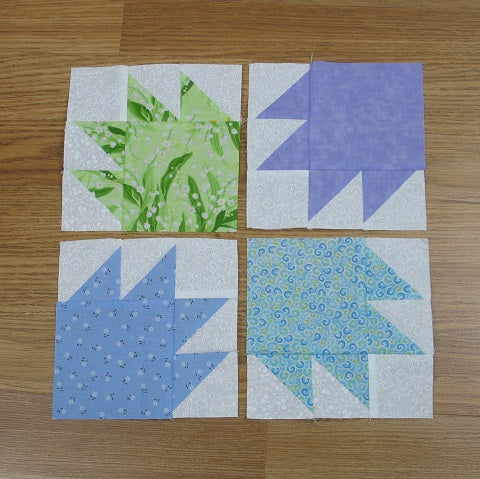
Lay out the four Bear Paw units you just made as shown in the picture below. Notice that two opposing Bear Paw units are pointing toward the center and two are pointing outward.
Step 12:
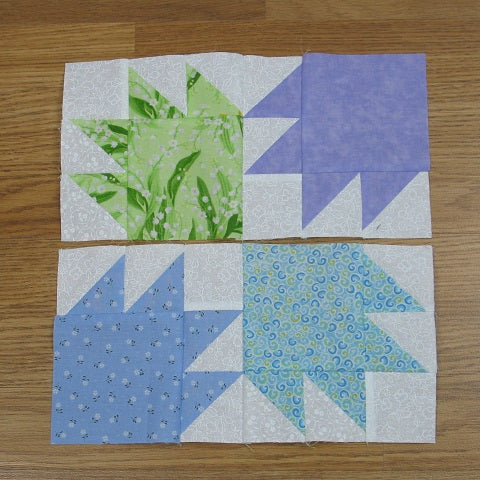
Sew the Bear Paw units together in two rows as shown below and…
Step 13:
Press the seam allowances in opposite directions as shown below.
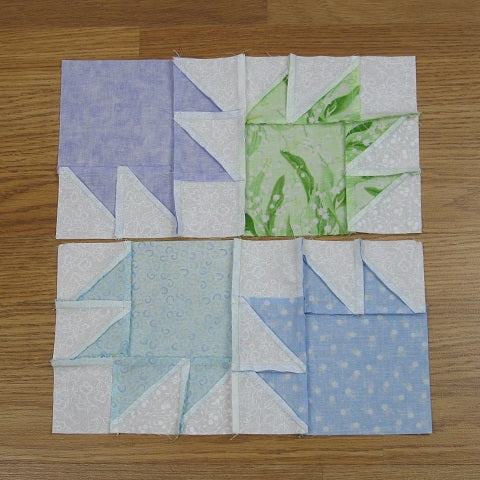
Step 14:
Sew the two rows together and you are done, except for…
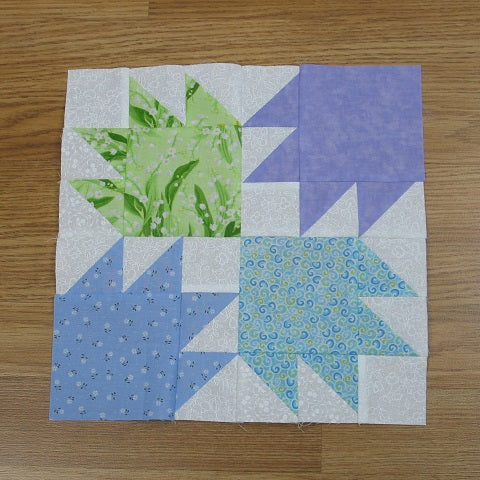
Step 15:
the pressing! Press seam allowance to one side.