Today let’s look at the traditional quilt block Grandma’s Choice! Of course, it goes by several other names – Fanny’s Favorite, Diamond Ring, Old Favorite, etc. And there are other blocks called Grandma’s (or Grandmother’s) Choice! It first appeared as Grandma’s Choice in 1938. It’s a great little chain block that traditionally is only in two colors but I really think scrappy would look great too. Because it is a chain block, it would also look good alternating with another block. It’s not hard to sew, sew let’s get started!
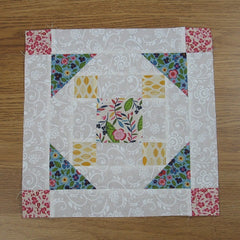
Fabric Requirements for a 12″ Grandma’s Choice Quilt Block:
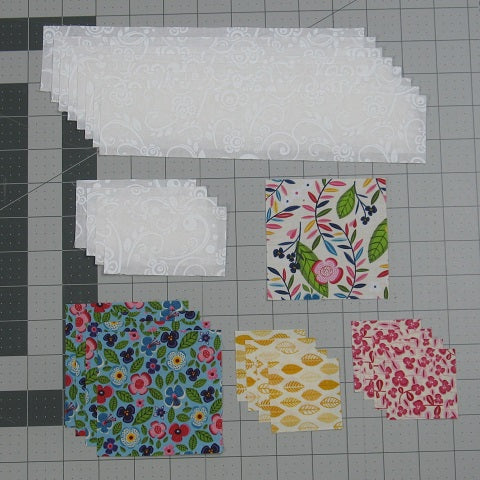
- Light/White: 4 – 2″ x 3.5″ rectangles, 2 – 2″ x 6.5″ rectangles, and 6 – 2″ x 9.5″ rectangles (I messed up and cut 8 – 2″ x 9.5″ rectangles and no 2″ x 6.5″ rectangles which you see in this picture – another “do as I say, not as I do” moment!)
- Light Print: 1 – 3.5″ square
- Medium 1/Yellow: 4 – 2″ squares
- Medium 2/Pink: 4 – 2″ squares
- Dark/Blue: 4 – 3.5″ squares
Sewing Directions:
Center Uneven Nine Patch Unit:
Step 1:
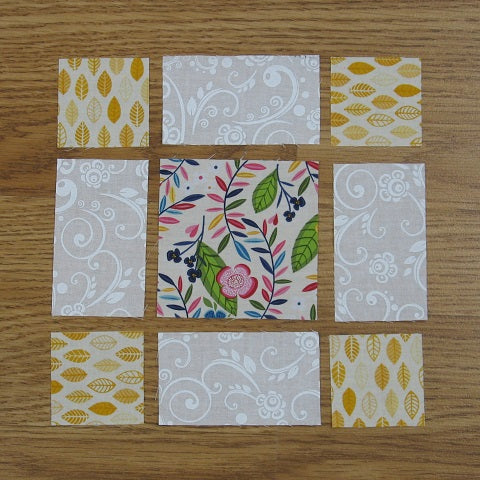
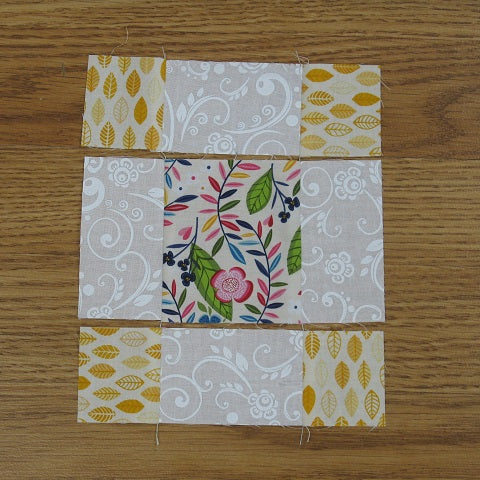
Lay out the Light Print 3.5″ square, the four 2″ x 3.5″ rectangles, and the four Medium 1/Yellow 2″ squares as shown below.
Step 2:
This center unit goes together just like a Nine Patch block but not all the patches are the same size (hence the “Uneven” Nine Patch name). First sew the patches together in three rows as shown in the picture below.
Step 3:
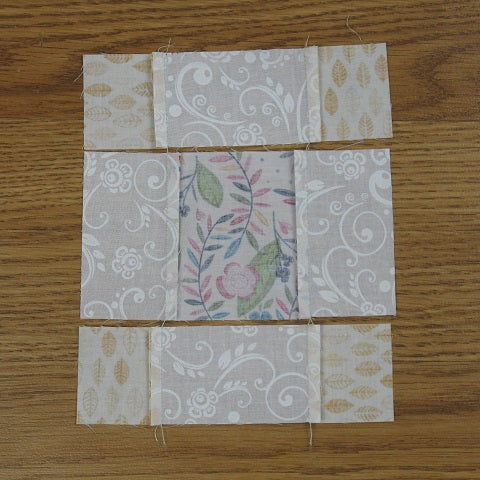
Press the seam allowances away from the Light/White rectangles as you can see in the picture below.
Step 4:
Sew the three rows together, and …

Step 5:
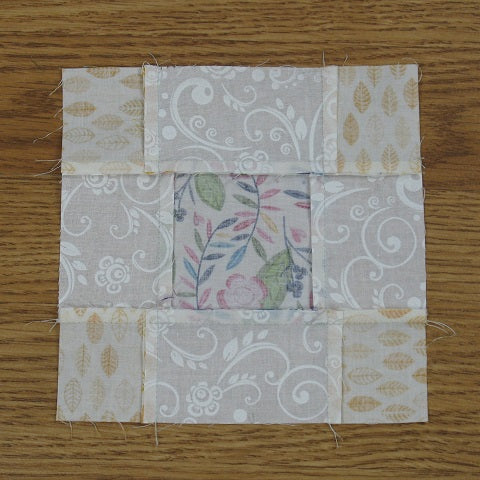
Press the seam allowances toward the center of the unit as shown in the picture below.
First Border:
Step 6:
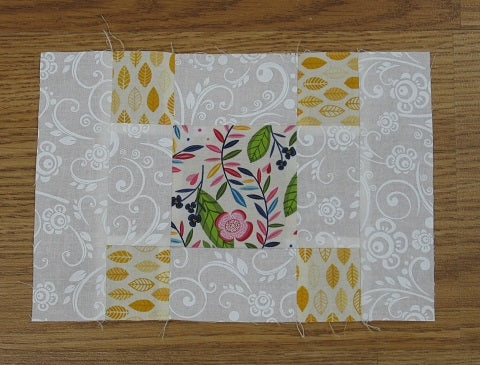
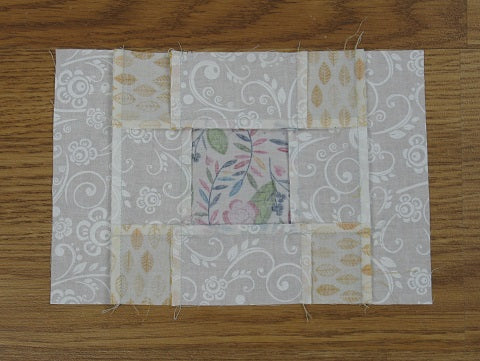
Sew the two Light/White 2″ x 6.5″ rectangles to the sides of the Center Uneven Nine Patch Unit as shown in the picture below.
Step 7:
Press the seam allowances away from the center as shown in the picture below.
Step 8:
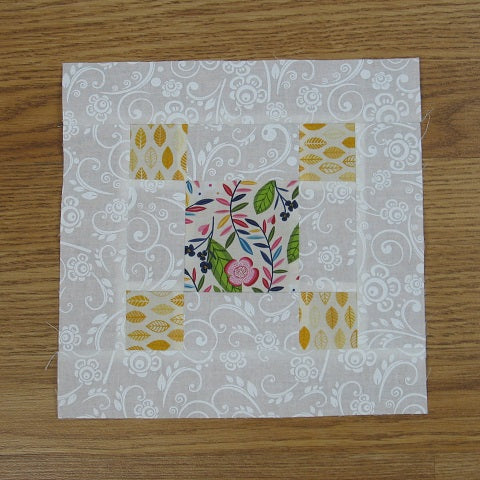
Sew two of the Light/White 2″ x 9.5″ rectangles to the top and bottom of the Step 6 unit as shown below.
Step 9:
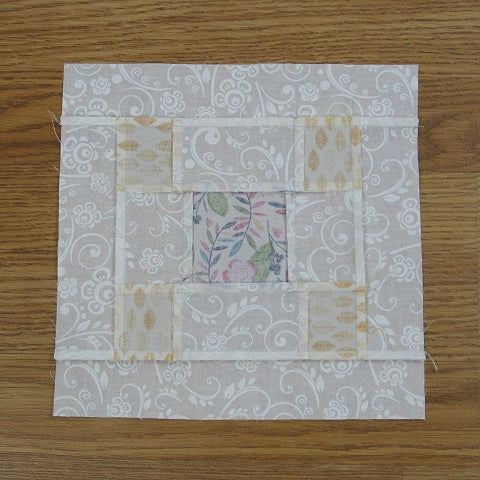
And press the seam allowances away from the center as you can see in the picture below.
Step 10:
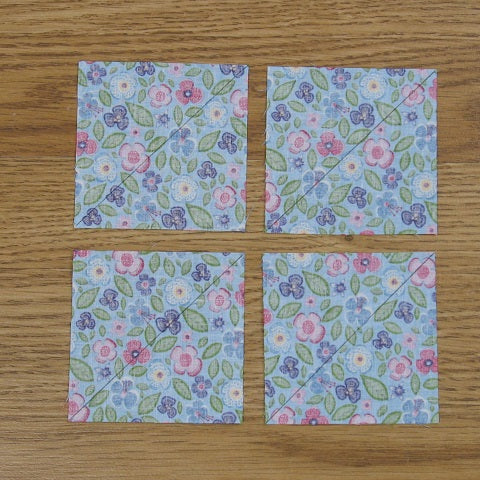
Now here’s where we get to do things a little differently than “Grandma” probably did. We are going to “snowball” the corners of the Step 9 unit you just made. (You can find my tutorial on making a Snowball block at https://quiltembroiderypdf.com/how-to-sew-a-basic-snowball-block) Mark a diagonal line from corner to corner on the back of the Dark/Blue 3.5″ squares as shown in the picture below.
Step 11:
Using the picture below as a reference, place a Dark/Blue 3.5″ patch in each corner of the Step 9 unit noting the direction of the marked diagonal line, and sew close to the marked line.
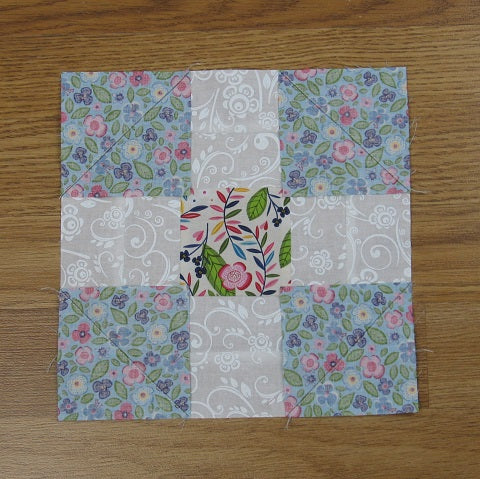
Here’s a close up that shows the stitching close to the marked line in what will be the seam allowance side of the patch.
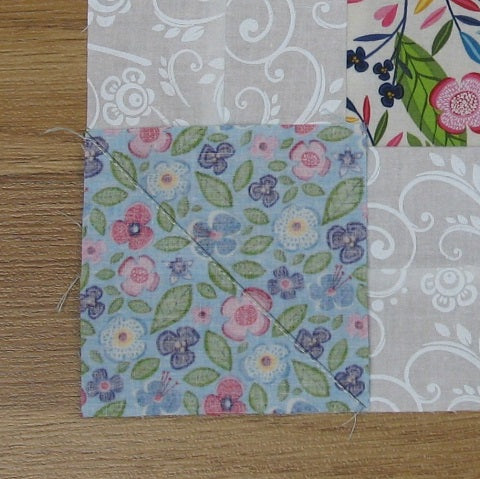
Step 12:
Match up the corners of the Dark/Blue squares and press along the fold line.
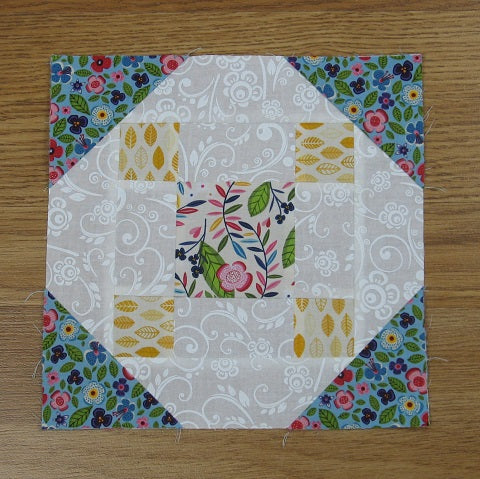
Step 13:
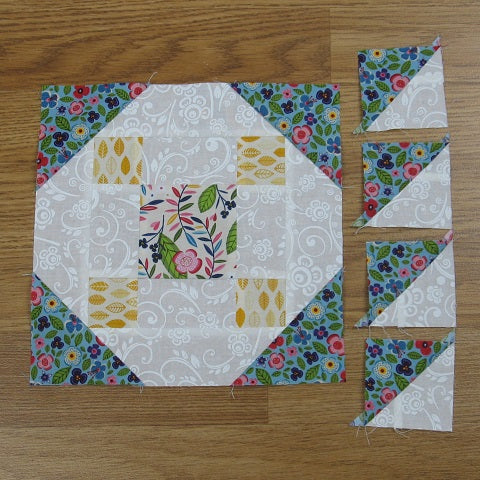
Open the Dark/Blue squares back up and trim the seam allowance. Here you can see that I made another line of stitching about 1/2″ away from the first and cut in between the two stitching lines. This so I can get a bonus Half Square Triangle unit to use in another quilt.
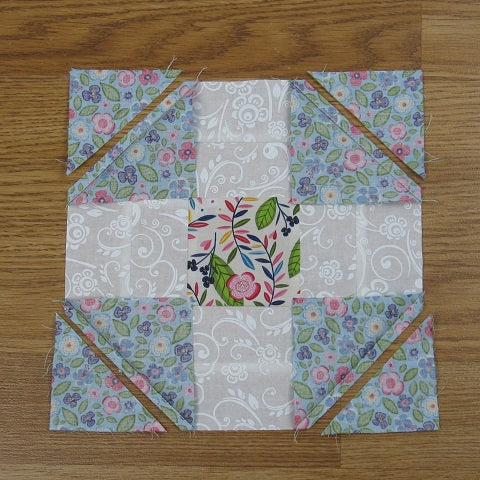
Step 14:
Refold the Dark/Blue patch as shown below (you can see my four bonus HSTs that I made too).
Outer Border:
Step 15:
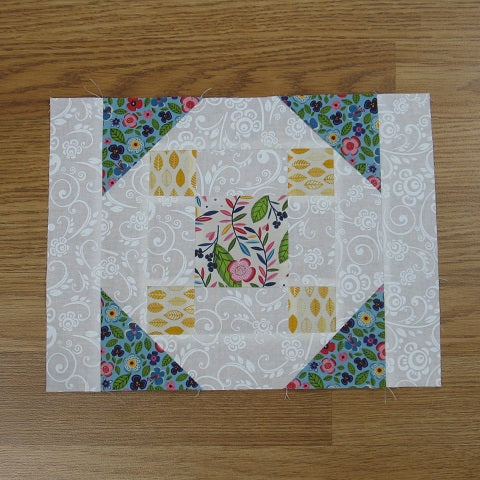
Sew a Light/White 2″ x 9.5″ rectangle to each side of the Step 14 unit you just made as shown in the picture below.
Step 16:
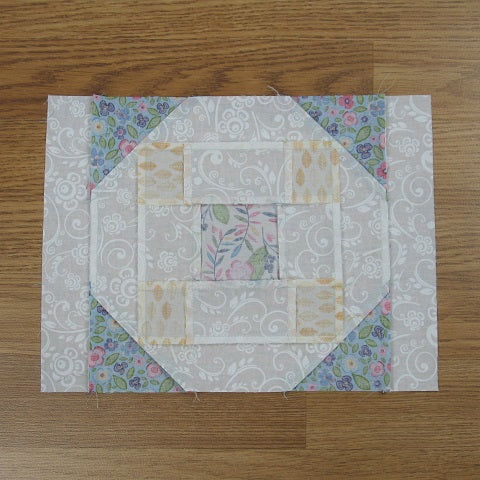
Press the seam allowances away from the center as shown below.
Step 17:
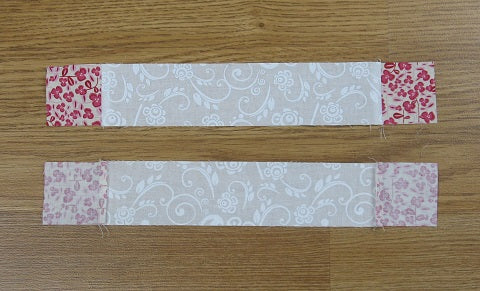
Sew a Medium 1/Pink 2″ square to each end of the remaining two Light/White 2″ x 9.5″ rectangles and press the seam allowances toward the Light/White fabric as shown in the picture below.
Step 18:
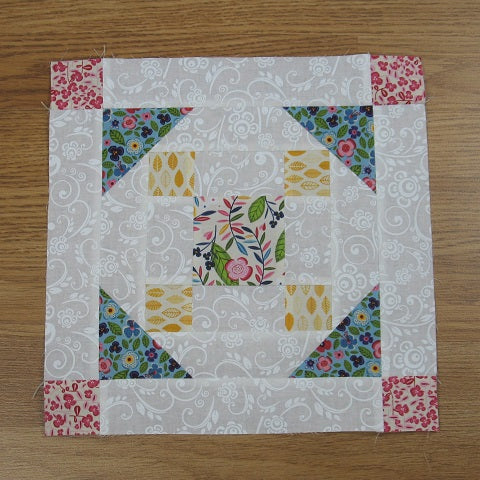
Almost done! Sew the two Step 17 units to the top and bottom of the Step 16 unit as shown below, and …
Step 19:
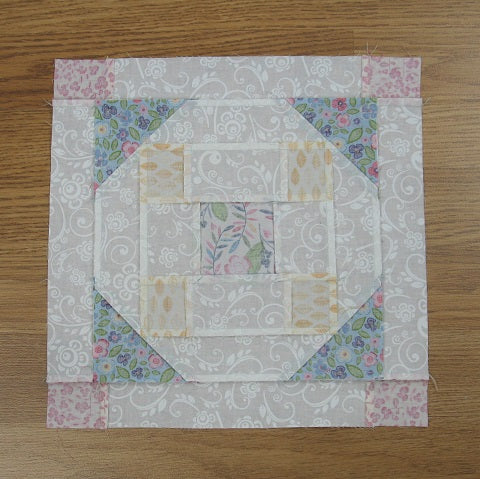
Press the seam allowances away from the center of the Grandma’s Choice quilt block as shown below. You’re finished!
Layout Examples:
Here is a typical 4 x 4 layout using colors similar to the fabrics I used.
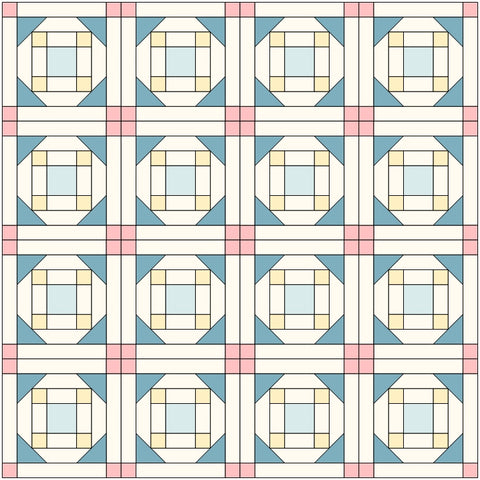
In this example, I’ve added in colored sashing and cornerstones.
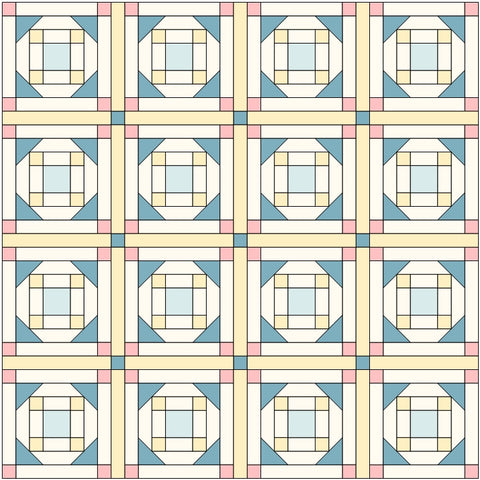
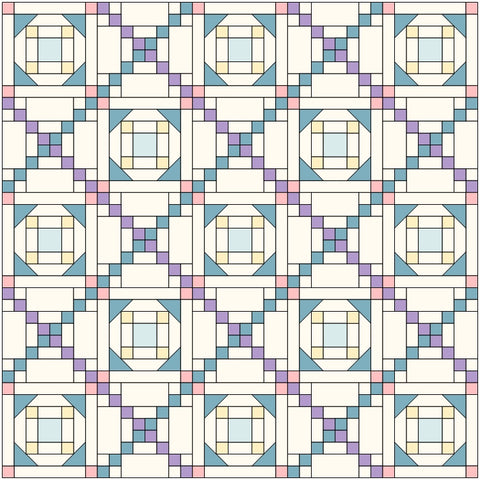
For this layout I used an alternating chain block.
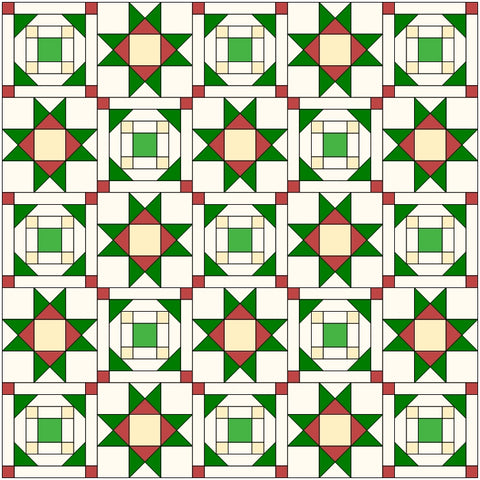
By alternating with star blocks and changing colors, we have a nice Christmas quilt.
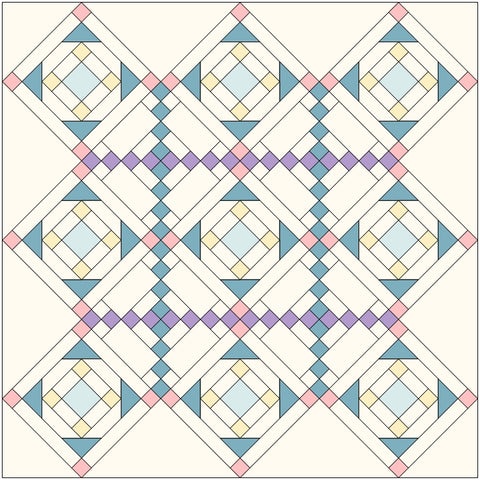
This is an on-point layout with an alternating chain block and background fabric for the setting triangles.
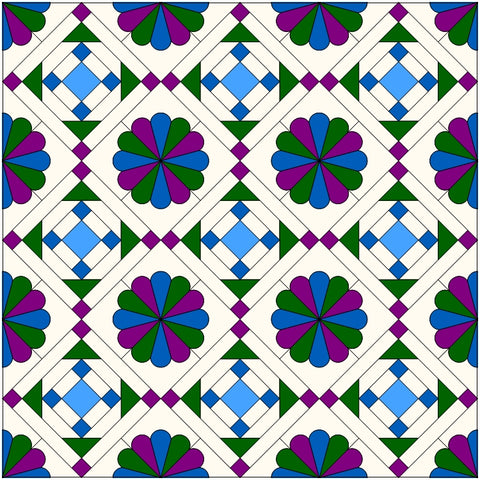
This example shows another on-point layout but alternating with a Dresdan plate block and more vibrant colors.