Let’s sew together this easy block. The Georgia quilt block is a traditional design that was published in Hearth & Home, a crafting magazine, and later in Workbasket as the State of Georgia block in 1935.
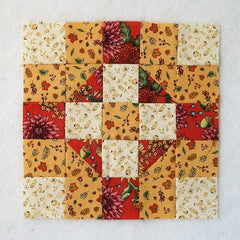
This block is beginner-friendly and super easy to create, making it an excellent choice for those new to quilting or looking for a quick and simple project. The block features a simple design of squares and half-square triangles arranged in a grid pattern, with contrasting colors to highlight the design.
Despite its simplicity, the Georgia quilt block remains a classic design and is a popular choice for quilters looking to create traditional quilt patterns. Let’s get sewing!
Fabric Requirements for a 10″ Finished Georgia Quilt Block:
- Light/Yellow: 8 – 2.5″ squares
- Medium/Gold: 2 – 3″ squares, 9 – 2.5″ squares
- Dark/Orange: 2 – 3″ squares, 4 – 2.5″ squares

Sewing Directions:
Half Square Triangle Units:
Step 1:
Using the Medium/Gold 3″ squares and Dark/Orange 3″ squares, sew together Half Square Triangle units. Press the seam allowance toward the Dark/Orange fabric.
You can find a detailed tutorial for making the basic Half Square Triangle block at https://quiltembroiderypdf.com/how-to-sew-a-basic-half-square-triangle-block.

Step 2:
Repeat Step 1 for a total of four Half Square Triangle units.

Putting It All Together:
Step 3:
Lay out all the 2.5″ squares and the four Half Square Triangle units as shown in the picture below.

Step 4:
Sew the units together into five rows as shown.

Step 5:
Press the seam allowances. I pressed away from the Half Square Triangles and then in alternating directions from row to row as shown in the picture below. A bit confusing but it helps the block lay flatter.

Step 6:
All that’s left is to sew those five rows together and…

Step 7:
Press the seam allowances. You can see in the picture below that I pressed the top and third rows up and the second and fourth rows down. You’re done!

Layout Options:
Here’s your basic 4 x 4 layout:

And here it is with sashing and cornerstones added:

In this example, I’ve alternated every other block with a slightly different coloring of the Georgia block.

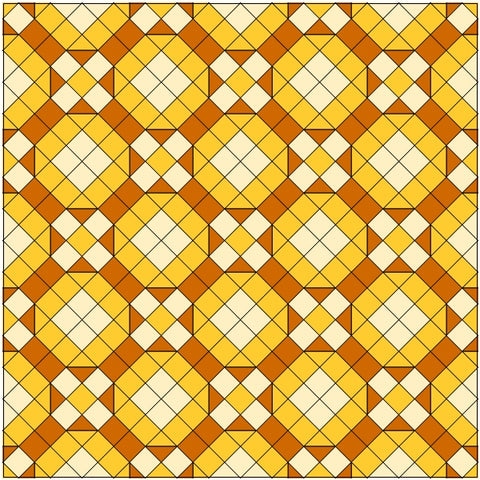
And here’s that layout set on-point:

You can see here a typical on-point layout:
And here’s the on-point layout with plain setting triangles so you don’t have to figure out half and quarter blocks:
