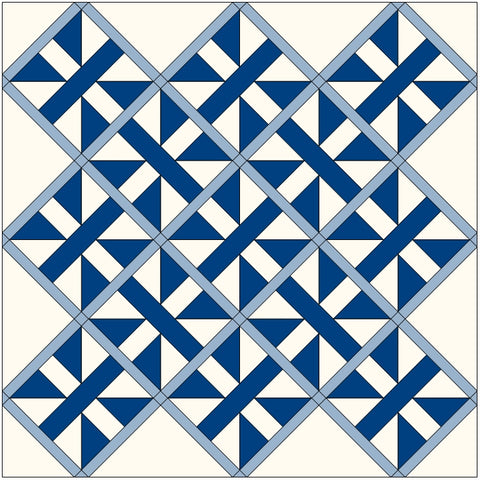
I ran across this easy quilt block and thought it would make a great beginner-friendly tutorial. The Diamond Panes block by Nancy Cabot is similar to ones you find when doing a search but this version has fewer seams and creates a different design when sewn into a quilt. I have lots of layout suggestions at the end of the tutorial. Let’s get sewing!

Fabric Requirements for a 10″ Finished Diamond Panes Quilt Block:
(Traditionally, this is a two-color block but I wanted to see how it looked as a semi-scrappy block.)
- Light/White: 2 – 5″ squares, and 2 – 2.5″ x 4.5″ rectangles
- Medium/Blue: 1 – 2.5″ x 10.5″ rectangle
- Medium or Dark Prints: 2 – 5″ squares

Sewing Directions:
Half Square Triangle Units:
Step 1:
Using a Light/White 5″ square and a Medium or Dark Print 5″ square, sew together a Half Square Triangle unit.
- Mark a diagonal line from corner to corner on the back of the Light/White square and sew 1/4″ (or a little less) on each side of the line.
- Cut along the diagonal line. You will have 2 half-square triangle patches.
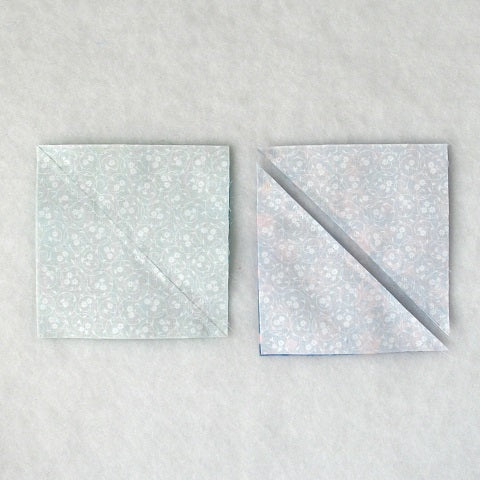
Step 2:
- Open up the patch and press the seam allowance toward the Medium or Dark fabric.
- Trim the unit to 4.5″ square.
For a detailed tutorial check out my blog post at https://quiltembroiderypdf.com/how-to-sew-a-basic-half-square-triangle-block.
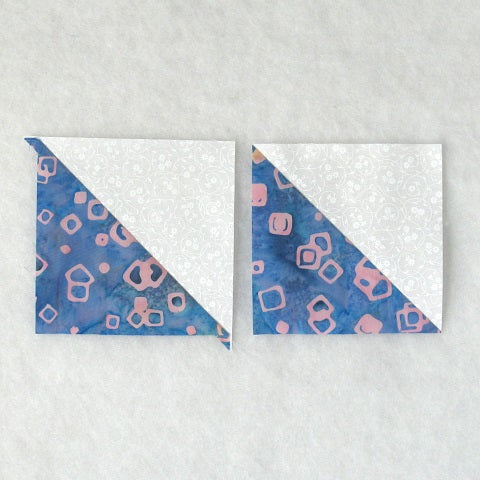
Step 3:
Repeat Steps 1 and 2 for a total of four Half Square Triangle units.

Putting It All Together:
Wow – that was quick!
Step 4:
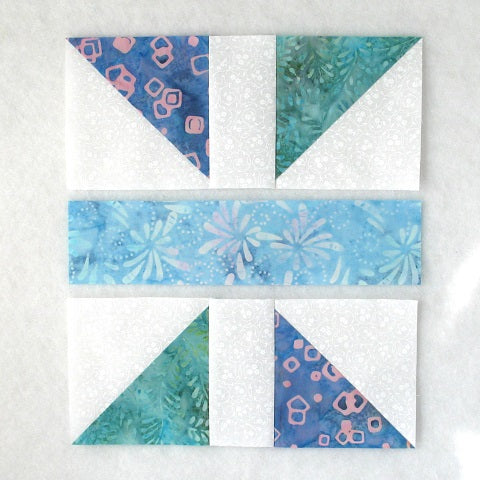
Lay out the Half Square Triangle units, the Light/White 2.5″ x 4.5″ rectangles, and the Medium/Blue 2.5″ x 10.5″ rectangle as shown in the picture below.
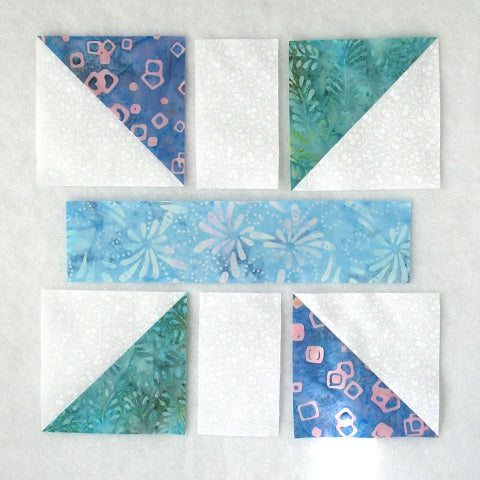
Step 5:
Sew the top three units and the bottom three units into rows as shown below.
Step 6:
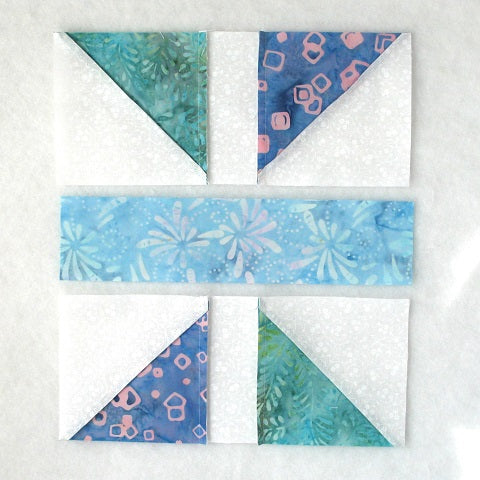
Press the seam allowances toward the Light/White rectangles.
Step 7:
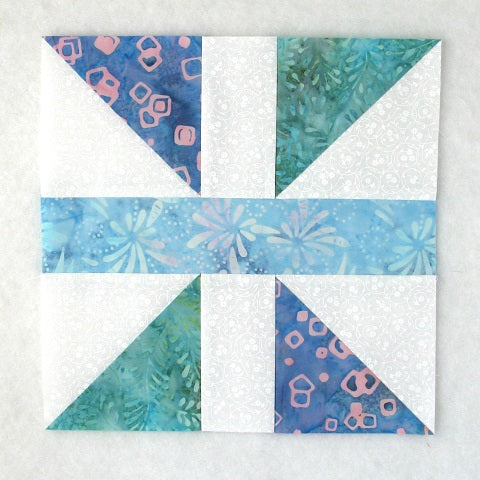
Finally, sew the three rows together as shown in the picture below.
Step 8:
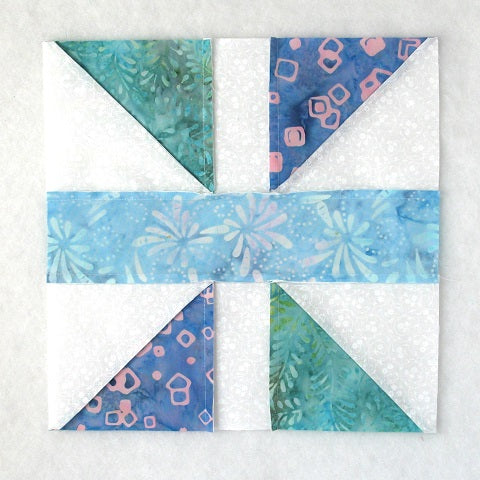
All that’s left is the pressing. You can see in the picture below that I pressed the seam allowances away from the center of the block. I plan on making more of these blocks and rotating every other block – pressing this way will make the seams nest nicely in the quilt top. However, you can press whichever direction you desire.
Layout Ideas:
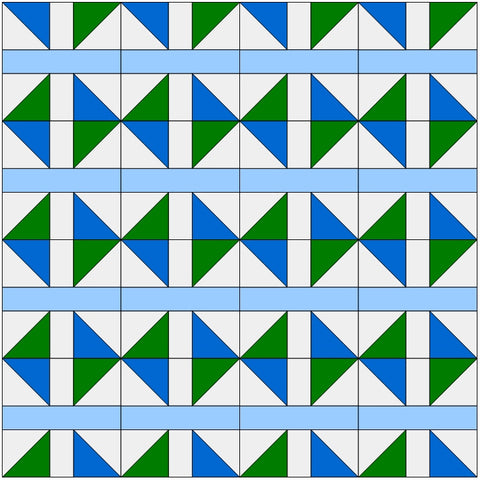
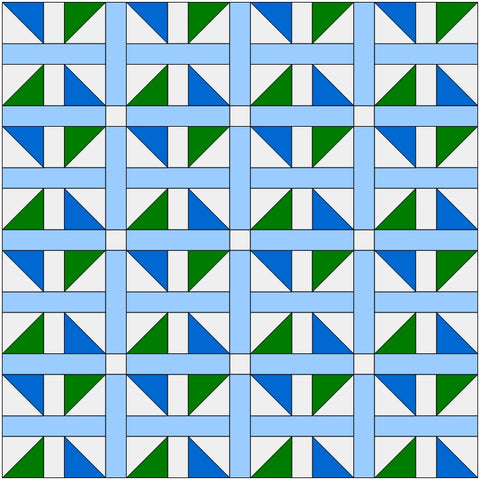
Here’s the basic 4 x 4 layout using colors similar to the ones in the tutorial. Not my favorite.
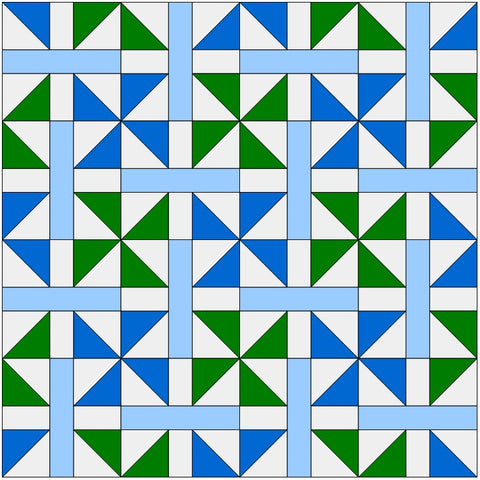
Here’s the same layout but every other block is rotated. Much better! The pinwheel formed at the intersections of the blocks really shows up.
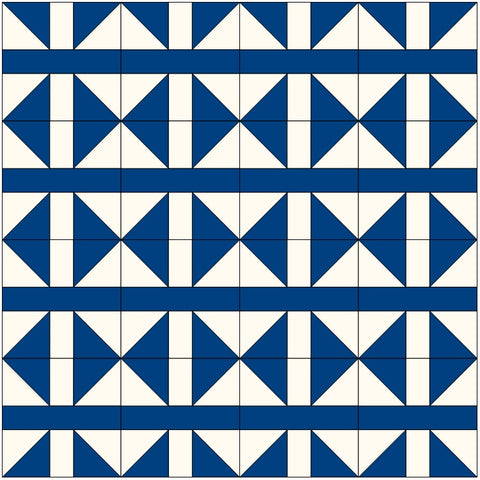
In this example, I’ve used the traditional two-color block.
And here it is with every other block rotated.

Of course, I had to do a scrappy version!
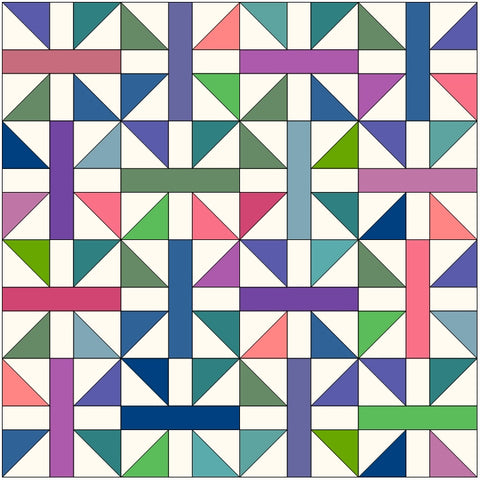
In this version sashing and cornerstones were added.
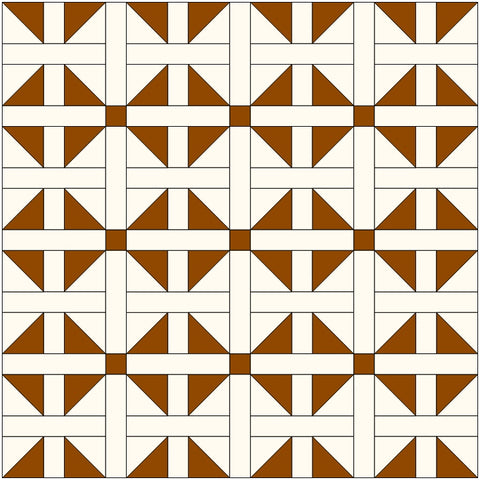
Back to using just two colors. In this example I replaced the center 2.5″ x 10.5″ rectangle with the light color. Really changes the look.
Here’s a typical on-point layout. This looks fun!
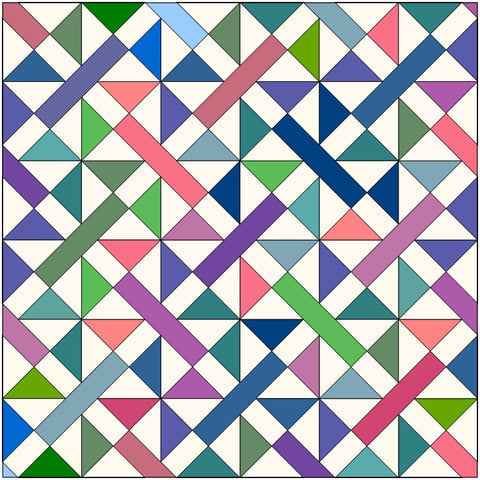
This is the same scrappy on-point layout except background fabric was used for the setting triangles.

Another on-point layout using the two-color block and adding sashing and cornerstones in a complimentary color.